Showing posts with label stencils. Show all posts

Thursday, 25 September 2014

Funky Flower Power

Over the past few weeks I've been creating flowers.

Flower Power, Acrylic, 60cm x 60cm, 20" x 20"

Here are some evolution pics...


This one I added gelli print flowers to the canvas and I had some trouble with it, threw a tantrum and then covered it with white gesso, the painted over it and wiped back some of the paint and the gesso...sigh....It's not how I wanted it to turn out...I wanted to show off the gelli prints but didn't like the ones I'd chosen....

 
I grabbed some old canvases to experiment with my Funky Flowers idea...
 
This one has had many transformations from Nice Girl to Poppies and then to Funky Flowers...


This one has also had many transformations too from being part of a four some abstract landscape to more Funky Flowers....


This one too...


So I had to make a flower stencil for the gelli plate!!


And it all started when I made these postcards for a swap...


So I've been busy this month painting flowers...which is your favourite painting?

Wednesday, 30 July 2014

More New Stencils For the Gelli Plate

I've created three new stencils for my gelli plate. 


The roll of acetate was proving difficult to flatten so here's a few more tips:

Tip of the day No. 1: Do not try to flatten acetate roll by pouring boiling water over it - your stencil will buckle and you will cry.


Tip of the day No. 2: You can try to iron out the buckling and flatten the stencil but start off on the lowest heat and have a tea towel folded in half with the acetate stencil in the middle.


Tip of the day No. 3: Buy acetate sheets if they are available.  They may be more expensive than the roll but they are a better size but seriously all the bother and difficulty is not worth $1.  (The roll was $5 = 500mm x 550mm/20 x 22 inches and the sheets are $3 = A3 = 2 x A4 = 29.7 x 42.0cm, 11.69 x 16.53 inches. Its area is 0.125 square meters, or 0.15 square yards,1.35 square foot, 193.75 square inches.)

The previous stencil inspired me to create this fish one:


This stencil I had thought about but then found something I had in mind on Pinterest - so I made some changes and added a few more bridges.


What am I going to do with all these prints?  I'm going to package them up and sell them on Etsy! They'll be in the shop early next week, I need to create a few more to fill up the envelopes!

PS  Do you love creating gelli prints?  Want a place to discuss gelli printing?  To show off your work?  Share your ideas? Discuss the pros and cons of different paints/paper/plates/tools etc?  Get some great ideas on what to do with the thousands of prints you have created?
Inspire and be inspired as a part of the Gelatin Printing Enthusiasts Facebook Group. I would love for you to join me there.


Sunday, 27 July 2014

Gelli Prints With New Stencil


Gelli Print Collage.
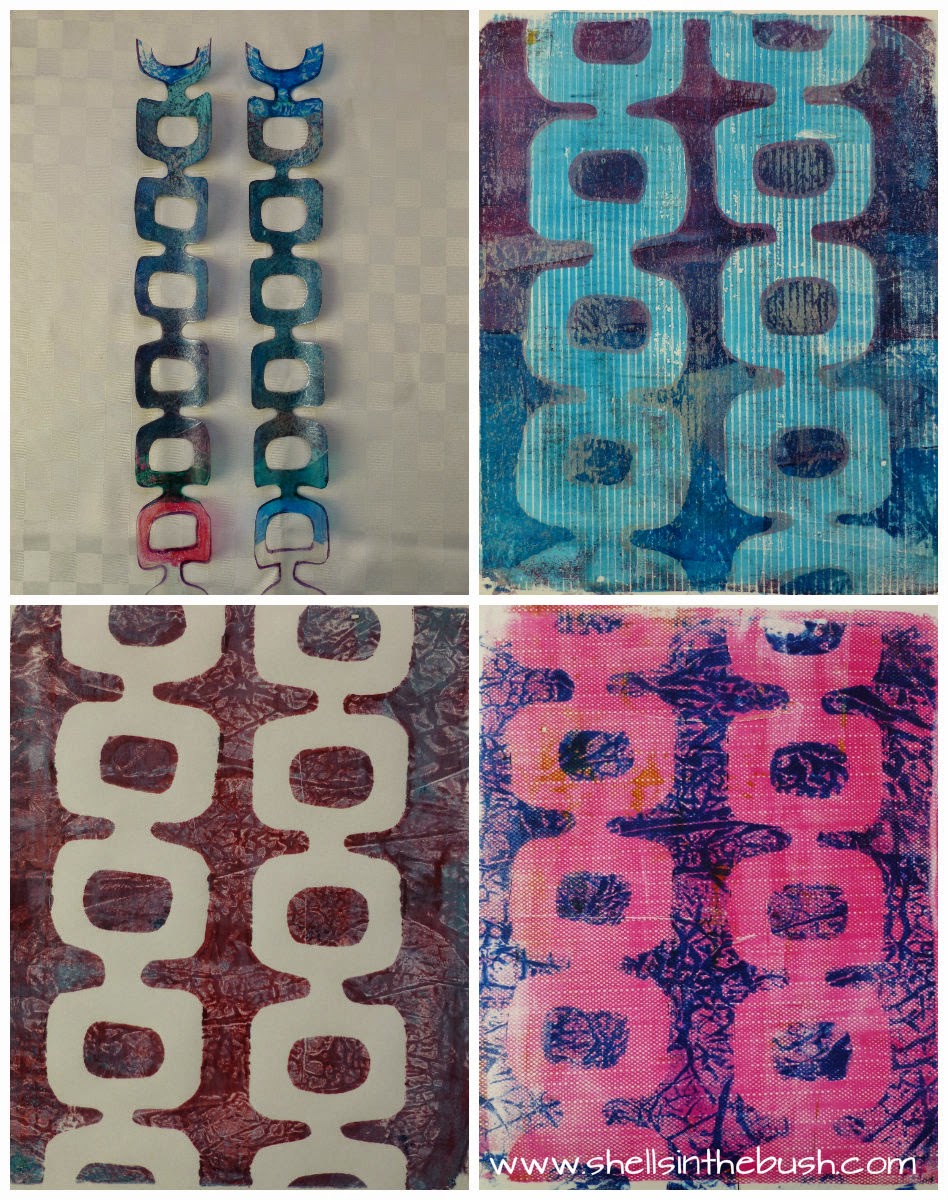
 I created a new stencil with a 60's vibe. I first used a cereal box but went out and bought some acetate whilst down town today.


Tip of the day with acetate - if you can buy it in the sheets then don't get a roll of it as it will curl and make placing on the gelli plate difficult.  Tip number 2 - make sure you have only smooth edges after cutting, check for pointy/spiky bits as they are not gelli plate friendly.


Round gelli prints too....

That was fun, I think I'll have to come with another one. Have you ever made stencils/masks?  I'd love to see them so let me know.

PS  Do you love creating gelli prints?  Want a place to discuss gelli printing?  To show off your work?  Share your ideas? Discuss the pros and cons of different paints/paper/plates/tools etc?  Get some great ideas on what to do with the thousands of prints you have created?
Inspire and be inspired as a part of the Gelatin Printing Enthusiasts Facebook Group. I would love for you to join me there.


Friday, 25 July 2014

Gelli Plate Playtime


I was inspired by this Dina Wakely stencil to create my own and had some fun with it.


I bought some cheap cookie cutters and used them to create patterns on the gelli plate - I used some of the prints for the stencil above.


And some other prints I created this week, some on brown paper too:


And some ghost prints from feather stencils I received from Sarah at Rainbow Ghecko Gallery:


Sunday, 30 March 2014

Homemade Gelli Plate Stencils

I've made some more stencils for my gelli plate using acetate and a craft knife.

 This is my favourite print that actually uses both stencils I created today.

Round stencil - I made it a little smaller than the 8 inch round gelli plate to give it a border and to show that it's a round stencil.


1. Print made with the stencil on the plate.
2. Take the stencil off the plate create another print.
3. Ta Daa!


Bird Stencil - I printed out a photo of a red breasted robin that my dad took and used it for the outline of the stencil and to create a mask.


Saturday, 29 March 2014

My Round Gelli Plate Stencil

Today I created a stencil for the round gelli plate.  I was inspired by Tammy James from the Gelatin Printing Enthusiasts facebook group and by my friend Inge's metal art.

I chose a sunset/sunrise which was probably not the best idea as I always wanted two different colours.  I am also planning a bird and a daisy. I drew it out on paper to get in my head exactly which bits were to be cut out and which pieces were to be bridge pieces.


Here are some of the prints that worked out.  :D


This is a round gelli plate:


Friday, 15 November 2013

Gelli Prints on Arty Fridays

Arty Farty Fridays!

This week I have been having a lot of fun making more gelli prints and dreamcatchers/mobiles with feathers and flowers.

This print was created on black paper and I used the bubble/circle stencil.

Each print is unique, even if I used the same colours/stencils etc it would turn out differently - and this is what I love about the gelli plate. Each person who uses it creates unique prints. You can borrow stencil/mask ideas from others but colour combinations, paint left on your plate even, how hard you press down on the plate when making the print all help to make a print different to someone elses.


I'm particularly enjoying making these gelli print dream catchers/mobiles as I haven't seen them any where else on the internet. I've taken an old idea and used a new tool and technique to create a new piece of art.  What's been great is there have been no others to compare mine too so that squashes the comparison monster.  I also know that if people do make them (and please do) then theirs will look different to mine.


I've tried different types of paper too - black cardstock, brown paper bags, greaseproof/tracing paper and freezer go-between (which didn't last as the dry paint comes off too easily - so covered it in clear adhesive), old book pages and old maps.


Hope you have a great weekend.

ETA:  Do you love creating gelli prints?  Want a place to discuss gelli printing?  To show off your work?  Share your ideas? Discuss the pros and cons of different paints/paper/plates/tools etc?  Get some great ideas on what to do with the thousands of prints you have created?

Then I would love you to join me at the Gelatin Printing Enthusiasts Facebook Group. This group is open to people who use a Gelli Arts Plate or who make their own gelatin plate.


Saturday, 16 February 2013

Six Thoughts on Saturday

1.  Sunsets - we've had some stunning sunsets this past week as we've had a few clouds that give gorgeous colour.


2. Mixed media art class - on Wednesdays with local artist Neil Elliott.  We are working on an underwater scene and here's my painting now.


3.  Art Journalling - I've started art journalling  for fun and experimentation and to play with some of the goodies I've bought.  I have been watching a lot of art journal videos and I don't have and am unable to get in Australia some of the products being used.  So the challenge is to use the tools I do have and in that way I can make the pages mine. I used to think art journalling was a waste of time because I couldn't sell the end product but this can be liberating and it means you can look at another person art journal and use it for inspiration.

This page was inspired by Donna Downey's Inspiration Wednesday journal from Feb 6th, 2013. 


These pages are the beginnings of pages that were inspired by France Papillon's When Was The Last Time journal.  France's page starts with gluing a printed tissue paper which I didn't have so I covered my pre-painted page with sewing pattern.  More to come in the future.


4. Foxes - this morning I saw a fox in our backyard and a few weeks ago at a friend's house we saw one there too.


5. Postage Stamps - I ordered through Ebay some postage stamps to use for art journalling and I'm looking for someone who lives overseas who would like to swap some American or European stamps for some Australian stamps by weight or number.  Please leave a message in the comment section if you are interested, thank you.


6. Confetti Tree with stencilled background - here it is finished:


Here are the progress photos I have shown previously: