Wednesday, 7 January 2015

Camping at D'Entrecasteaux National Park

We spent a couple of days camping at the D'Entrecasteaux National Park which is approximately 500kms/310miles or 5 hours drive away.  The park is named after the French Admiral Bruni D'Entrecasteaux who was the first European to sight the area and name Point D'Entrecasteaux in 1792.

Photo Credit goes to my hubby for this great pic!

We stayed at Black Point which is named after the basalt columns from a lava flow that occurred 135 million years ago. In August 2013 we went to the Giant's Causeway in Ireland which also has hexagonal basalt columns. The Black Point ones are eroded by the crashing waves each day where as the Irish ones are higher up and have suffered less erosion. 
It is four wheel drive to get there, and there are no facilities apart from long drop bush toilets - so no internet connection or no phone service either, no showers - just nature and us and about a dozen other hardy souls!!!


The following day we drove to Jasper Beach.....

And to Lake Jasper - which is a freshwater lake....

Then we went to Moore's Hut near Coodamurrup Beach - Moore's Hut was constructed in 1911 using native bush timbers and slavaged oak from the coast. We were all alone there apart from a couple of people camping closer to the beach.  The weather was great, much cooler than Perth which was experiencing 42C/105F+ weather.

Here are some animal tracks...

In the afternoon we set off for Point D'Entrecasteaux at Windy Harbour to see the views from there.


We had to drive through the beautiful Karri Forest.....


Now we are home and I've done 5 loads of washing and cleaned the house so I deserve some art time...

Thursday, 1 January 2015

Focus OLW 2015

I have chosen the word FOCUS to be my One Little Word/theme/mantra for 2015.

My word came to me when I was talking to someone new about my art and what I did this year and said that I really had to focus more on doing one thing instead of being a 'jack of all trades and master of none'.  I didn't really know where I was going in 2014 and tried to do too many things and know now that I have to concentrate on one thing and not spread myself so thin.

I am Artist of the Month for an art journaling group I'm in and have decided to guide the group through One Little Word 2015.

One Little Word started with Ali Edwards and here's a quote from her blog:

About One Little Word®

A single word can be a powerful thing. It can be the ripple in the pond that changes everything. It can be sharp and biting or rich and soft and slow.
In 2006 I began a tradition of choosing one word for myself each January – a word to focus on, mediate on, and reflect upon as I go about my daily life. My words have included play, peace, vitality, nurture, story, light, up, open and thrive. These words have each become a part of my life in one way or another. They've been imbedded into who I am and into who I'm becoming. They've been what I've needed most (and didn't know I needed). They've helped me to breathe deeper, to see clearer, to navigate challenges, and to grow.
I hope you'll consider joining me for the next One Little Word® workshop in January 2015 here at aliedwards.com.
Check out all my blog posts regarding One Little Word® here.
Click here to read a FAQ and more details about this project.
 1. Decide on your word.

You need to choose a word that resonates with you, instead of having a New Year's Resolution you choose a word for the year.  For a list of words check out Ali's blogpost here.

My word for 2014 was Grow.  My word for 2013 was Believe. My word for 2012 was Courage.

Activity 1 -  I used one of my little books for the activities but an art journal is ideal too. Write/doodle/decorate your word - see first photo.

2. Define your word.
Find a definition of your word that suits your purpose.

FOCUS:
1. The centre of interest or activity.
2. The state or quality of having or producing clear visual definition.
3. Pay particular attention to.

Activity 2 - write these words in your journal. 


3. How will you apply your word?

Activity 3 - write how you will apply your word over the year as this will help you to make it happen.

Focus:
1. Create one girl each week and put it in my Etsy shop or for sale in exhibitions.
2. Use gelli prints in my art - my girls and collages.
3. Create tutorials for Cre8ive Klatch.
4. Do less swaps and art journaling.


4. Create a bookmark.

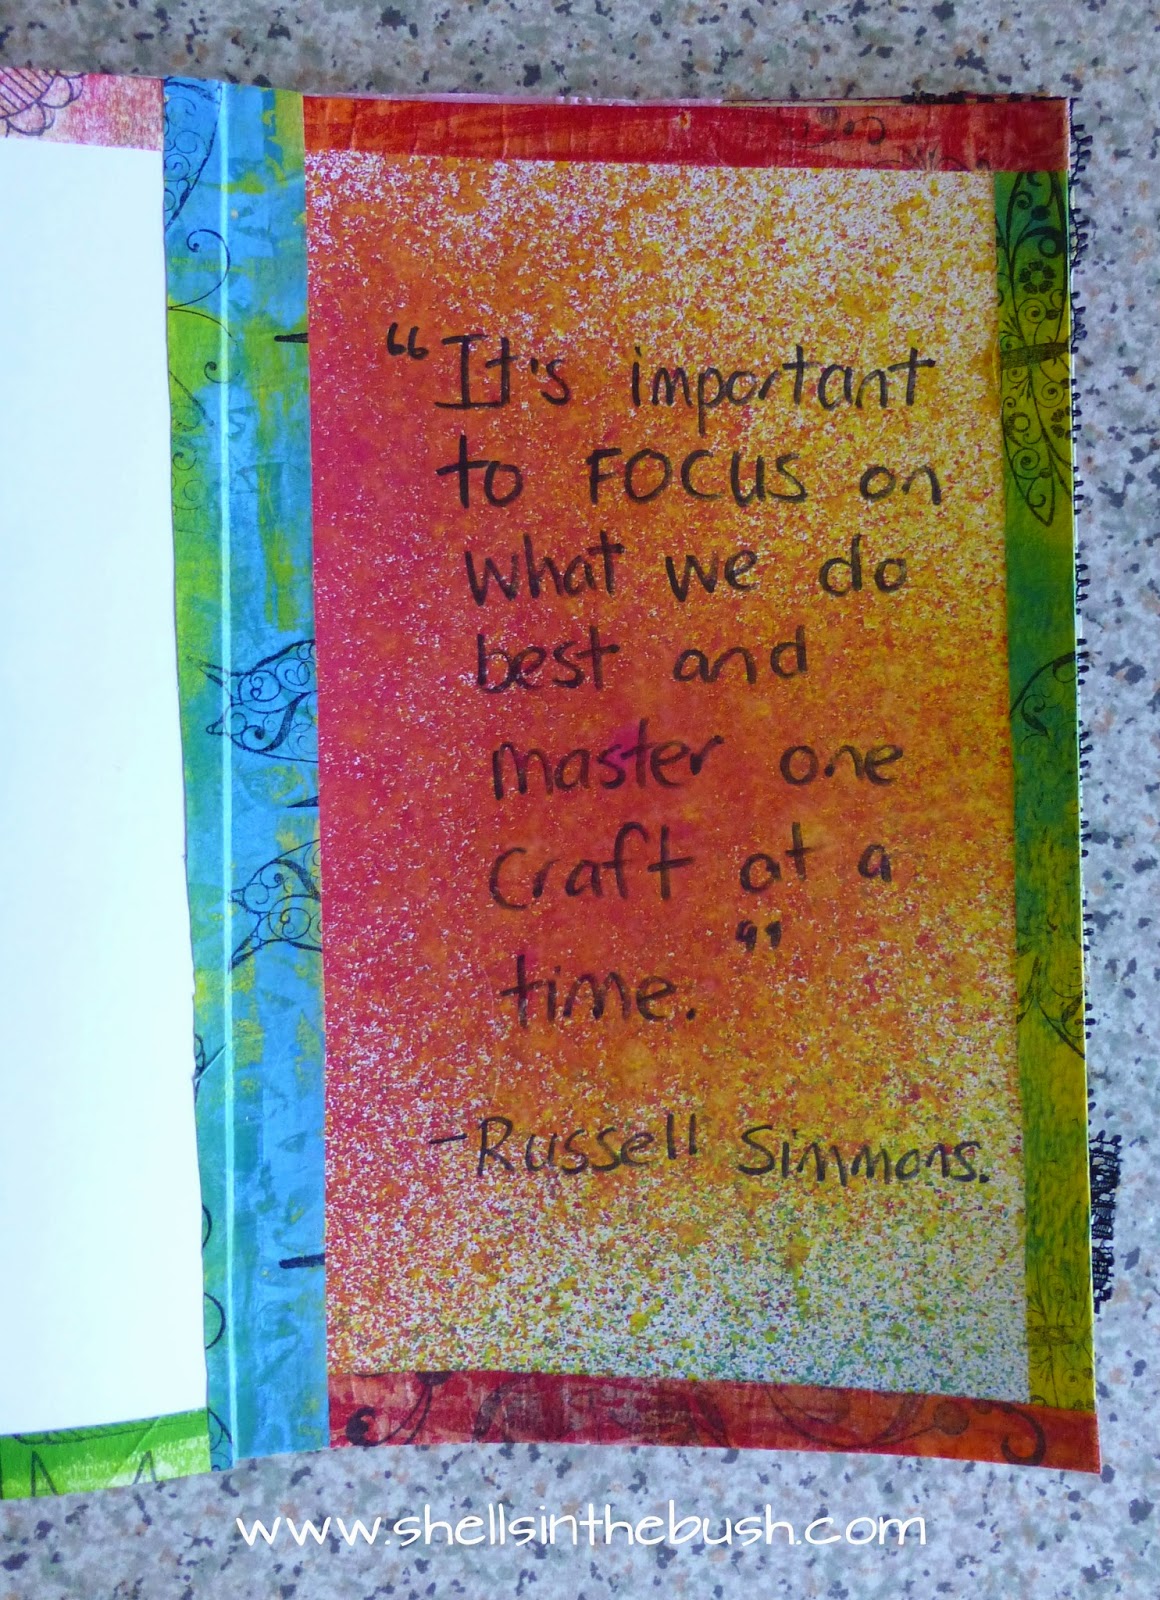
Activity 4 - create a bookmark with your word on it and keep it in your planner journal so you see it throughout the year. I started with a rectangle of manilla folder, you could use cardstock or an index card, then I covered it in a gelli print and collaged lace and a border and washi tape on it and then stamped on it and used my gel pen. I kept on going until I was happy.


Extra fun activities...

5. Pinterest Board.

Activity 5 - Each year I create a Pinterest board for my word and pin related pins.  It's fun and inspirational especially for the following activities.

Here are my boards:  Focus, Grow, Believe.

6. Create a reverse acronym for your word.

Activity 6 - Pinterest helped with this one.... Focus = Follow One Course Until Successful.


7. Quotes with your word in it.

Activity 7 - this is where Pinterest is helpful and the google.  Find a quote with your word in it that speaks to you and write/doodle/decorate it in your journal.

"It's important to FOCUS on what we do best and master one craft at a time." - Russell Simmons


Ladies, I hope you have fun with these activities, I recommend the first four to get the most out of your OLW, but the more you do the fun it will be.

Please leave a comment with your chosen word below as I'd love to make a list of the words chosen.  Thank you!!! Or add your blog to the linky below!

Have  a great 2015!!!

Tuesday, 30 December 2014

Reflections on 2014


 Highlights:

- I sold this painting after the local arts festival in the carpark for $50 and a couple of weeks later the lady sent me another $100.  She loved the painting and I was happy it went to a good home and wasn't sitting in my house.


- I threw myself into gelli plate printing and even started the Gelatin Printing Enthusiasts facebook group which has over 2100 members...


- I joined some art journaling groups and tried that...


- I joined another group where we created and swapped our art...

 - I spent hours browsing through Pinterest....

- I  joined 29 Faces in February and created 24.....

- I grabbed some old non-varnished canvases and altered them - chucked some paint on them
- I found a theme - gum leaves - and made several different paintings...

- I found I liked to doodle funky flowers - so I painted some of them on the old canvases...

- I'm taking an online class - Studying the Masters - Portraits and Self Portraits

 - I joined Cre8ive Klatch - where I have to provide a tutorial each month - this Mantra Mobile was my first tutorial.

 - I joined Klatchapalooza Market - where I had to create a minimum of 12 new artworks to sell online over the last weekend in November... and I sold this dragonfly gelli print collage.

- I hosted BlogtoberFest 2014...

- I joined in on blog hops and hosted one too...

- I got my Etsy store up and running....

Lowlights:

- Not really getting my mojo back  but I now know which direction I want to go in 2015.

- Being cyberbullied - I will blog about this in the third week of January after I have created a gelli print dedicated to this experience. But that experience helped me to create this:


Saturday, 27 December 2014

DIY Gelli Print Calendar and 1st Anniversary

The Gelatin Printing Enthusiasts Facebook Group is one year old today!!!  Many thanks to Cindy Jones Lantier who started it with me and a huge thank you to the 2123 members of the group.  You guys are awesome, thank you so much for sharing your prints, ideas, suggestions, for being so inspirational, for asking such great questions and for answering them. I'm so looking forward to seeing your prints next year!!


If you need a calendar for 2015 here's how I made mine!

1.  My friend Lin in Michigan sent me a blank calendar so I glued on some of my gelli print.  Easy squeasy!


2.  This is another type that I made.  I used this site to print out the months and I glued them onto A3 cardstock along with the gelli print and then created heaps of DIY washi tape and taped down the edges;


I used a hole punch to put a hole in the top and then added a hinged ring on this one and ribbon on the second one I made;

Thanks for a great year Gelli Addicts!

Friday, 19 December 2014

Frida Kahlo

I have worked some more on the Studying Under The Master's - Portraits and Self Portraits online class - the Master I am working on is Frida Kahlo.  She was a challenge, she's full of mistake but I'm very proud of her.

Evolution pics:


Wednesday, 17 December 2014

Gelli Print Self Portrait Picasso Style

I have worked some more on the Studying Under The Master's - Portraits and Self Portraits online class, learning about Picasso.  I created this self portrait with an acrylic paint background and using gelli prints instead of acrylic paints for the girl, dove and umbrella - just for something different and for fun.


I gotta say... I love her!  :D