Tuesday, 16 August 2011

Peacock Vase

My Golden Fluid Acrylics arrived yesterday from America much to my joy, so I finished off my Peacock Vase which I started whilst demo painting at the Art Sale a couple of weekends ago.


I created a new facebook page for my art and there's a link on the right hand side - so please click on it and press Like!!  :D

I'd just like to show you what I'm working on at the moment, hopefully I'll have time over the next couple of days to continue working on her - she will have butterfly wings and is my tribute and rememberance of the Flying Lessons online class I'm doing with Kelly Rae Roberts.


Sunday, 14 August 2011

Friday, 12 August 2011

Creating a button and a banner for my Blog

25th March 2012 Edit and update:

A tip for your picture - upload it to http://photobucket.com/ (you will need to have an account) and then re-size it and click save a copy - you will then see a box of links, choose Direct link, the second link which you can use as your url address of your uploaded image.

I recently did a button for the Fly Tribe Shoe Shots Blog Hop and the code looked like this:

<center><a href="http://fly-tribe.blogspot.com.au/"><img src="http://i1147.photobucket.com/albums/o551/ShellsintheBush/ShoeShotssmall-1.jpg"/></a></center>


Please leave a comment below if you have any difficulties and need help and I'll get back to you ASAP.

Thanks.


2nd November 2011 Edit and update:

This is a good site to check out:  http://jenieshell.blogspot.com/2008/11/how-to-make-blog-button.html 

Here are the basics in my own words:

1. You need to create a picture for your button about 150 x 150 pixels.

2. This picture needs an url - so upload it to a blogpost, post, then click on the picture to get the url for it.

3.  In Blogger you need to go into Design, Template, Add a Gadget and click on the HTML option.

4.  You need a code which requires the url for the uploaded picture and the url of the site where you want to link it to

  • Copy the code below and paste it into the text section of your new HTML/Java Script Gadget.
<center><a href="URL address you're Linking to"><img src="URL address of your uploaded image"/></a></center>

  • Replace the sections in red with the two url addresses that meet your needs.
  • click save.
5.  then view your blog to see how you went....

My button code links to my website and looks like this:

<a href="http://shellsinthebush.com/"
target="_blank" >
<img src="https://blogger.googleusercontent.com/img/b/R29vZ2xl/AVvXsEgFbxKKyeBnUhi_FHE6SXaHaNYCEYOSutU4dhcY76sY2Sd7poP48Y3Zj6i0rZp0aaiWAbPfFavEkmdrkfVL7L3Ejg1-XCfXMamUL8zukimhxTvf077jaSm-U3q5yOPnuzhszzVX884JCv4/s1600/blogbutton2.jpg"
alt="Alternative Name" /></a>

and the button I made today for  Your Heart Makes a Difference looks like this:

<center><a href="http://yourheartmakesadifference.com/"><img src="https://blogger.googleusercontent.com/img/b/R29vZ2xl/AVvXsEhte510MkXqiN6w3VgvX-JDw4Fbm1it9N5RP0Wwn2YbDuam_WshJArF10wgrgbHxJD4-NTbiZ9KUIWr5nPxmG1hDjjKPXBZnKVsVjIGYb_yVVkc9ycFiWRem-zgAK0v9eIlfjRAAcP07yU/s1600/yhmadlogo_words_200pxls.png"/></a></center>


I'm not too sure how this works for WordPress or other blog formats/designs.

Thanks,  Sox

**********************************************************************


I'm following this blog button tutorial to make a button for my blog.


So I've created my button but am having trouble creating the scroll bar link thing even though I'm following this tutorial. 


I finally made my scroll bar link but won't really know if it works until you try it out on your blog.  Go on...and let me know how you go.  Thanks.

Today I also made a banner for my blog through picnik.com which was also a lot of fun and time consuming to play with too.

Sizes - button - 125 x 140

- blog banner - about 1000 x 300-350

Here are a couple of banners I tried on....


2nd Nov 2011  Making another button for this site:


Thursday, 11 August 2011

Kangaroos in the Bush


Yes, that's right, I do have kangaroos in my backyard!!!  I was out looking for some Blue Leschenaultia flowers when I came across this big guy and his family.  I was searching for flowers for a colour wheel challenge and took some pics of the beautiful flowers on my block.

This is why I love living here....


Tonight's beautiful, colourful sunset


Red Bottlebrush


Red Grevillea


Seville Oranges


Orange Fungus


Golden Wattle


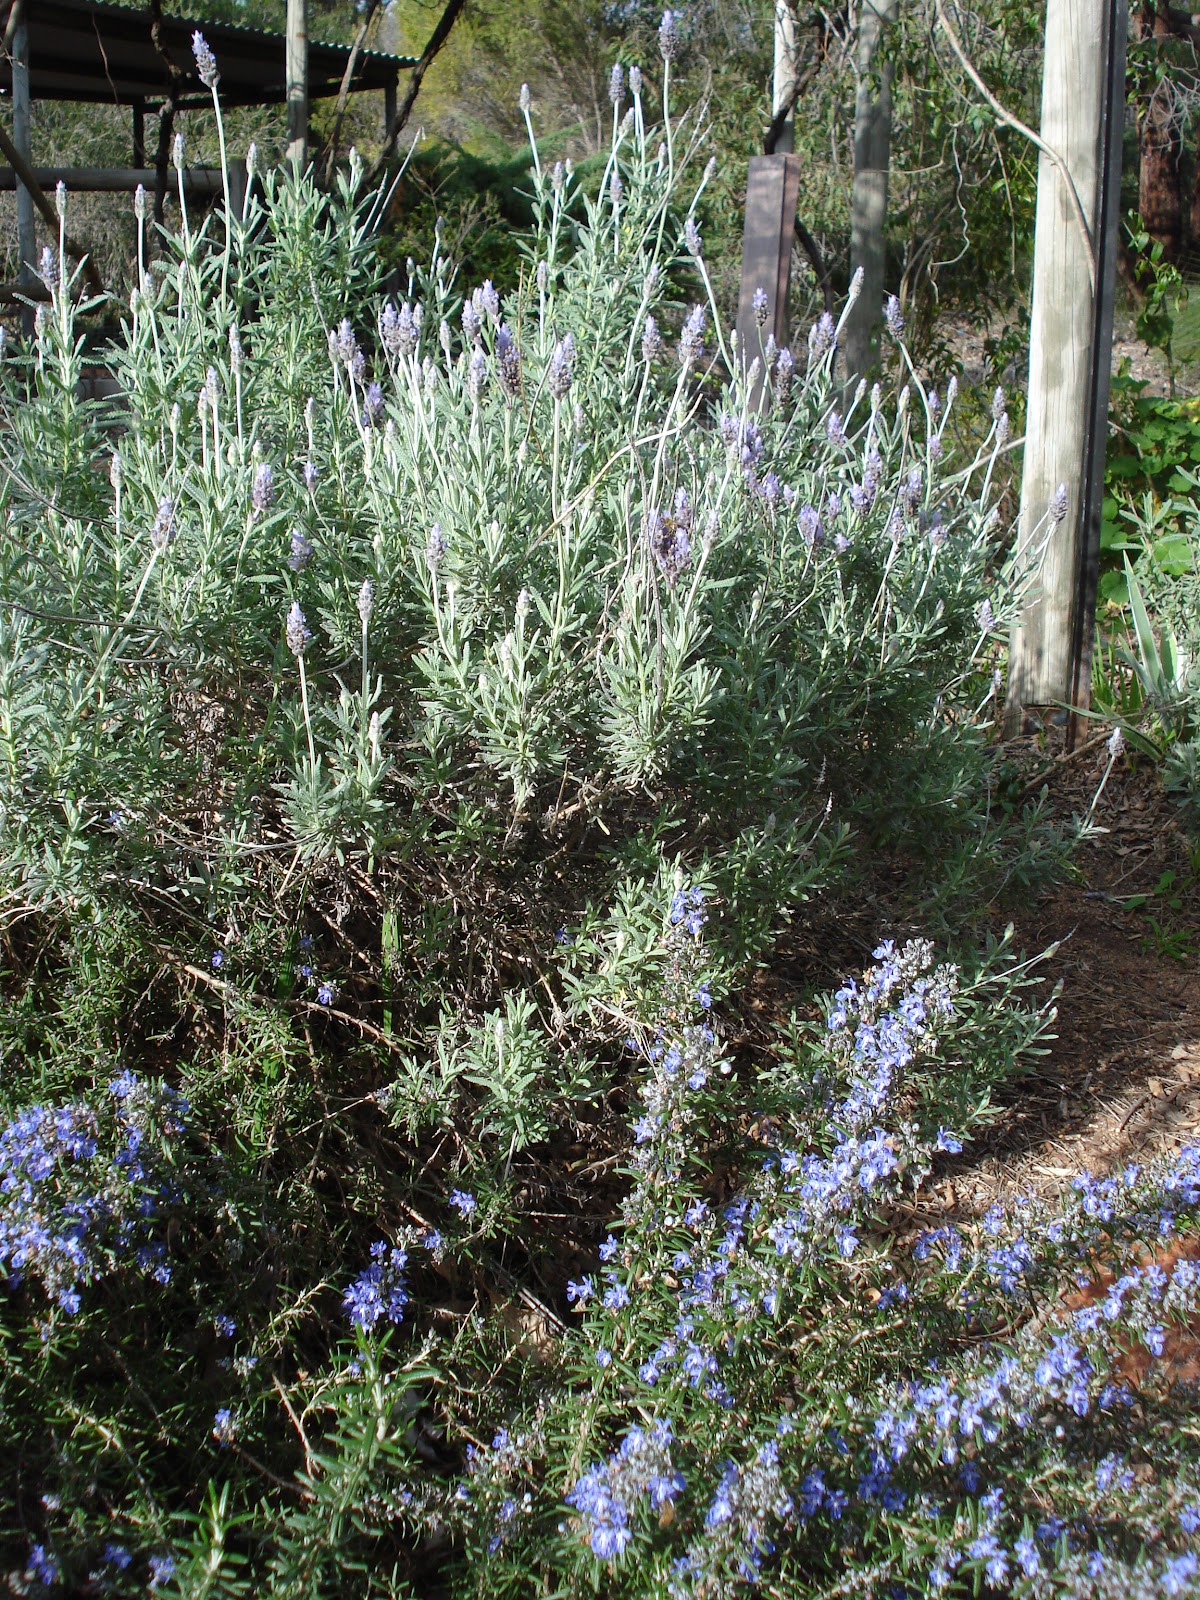
Rosemary and Lavender


Hardenbergia - native wisteria


Grey Kangaroo


and the sunset got even better....


Wednesday, 10 August 2011

Flying Lessons with Kelly Rae Roberts

Pam Carriker's workshop in Cloth Paper Scissors magazine was one of my first introductions into mixed media collage portraits or girlie collages as I like to call them.  I read the instructions but still had no idea what to do as the language was so foreign to me - what was a substrate and what was a background stamp? - I remember asking myself.  I decided I wanted to create my own girlie collage so I worked it out on my own and found out I loved collage and scrapbooking paper but needed a little practice on painting faces.

Here is my first girly collage titled:  Lady Autumn Leaves - April 2010


After a few attempts a deviant art friend said I should have a look at Kelly Rae Robert's portfolio - so I did and I rejoiced in the fact that I wasn't so weird after all and so did my husband - as my girls had long necks and tilted heads.  More of the journey of my girly collages can be seen on my deviantart collage gallery.

On Monday night I decided to enrol into Kelly's Flying Lessons e-course about tips and tricks to make your creative business soar and am really excited by what I've been learning and can't wait to continue on my journey.

Saturday, 6 August 2011

Little Houses in Progress

Houses feature a lot in my dreams and in my paintings, so when I came across Lauren Gray's art and her blog featuring the houses she had turned into wall sculptures I thought I'd lke to make my own houses with a bit of colour. 

I already had a bit of timber lying around so I had a go at making a house myself and realised that I really need a mitre box.  My dad has a mitre saw and helped me to make the houses.  Then I sanded them, coated them with a sealer, and have gessoed some and collaged scrapbooking papers on to the 'worse' bits of wood.  In the next couple of days I will paint and varnish them as well as add windows, doors etc.

Whilst out at the shops today I found this wooden tray and scrapbooking frame to use as frames.  These I will also gesso and paint in a background too.  Stay tuned over the next week or two for updates on the progress of my little houses.