Tuesday, 30 December 2014

Reflections on 2014


 Highlights:

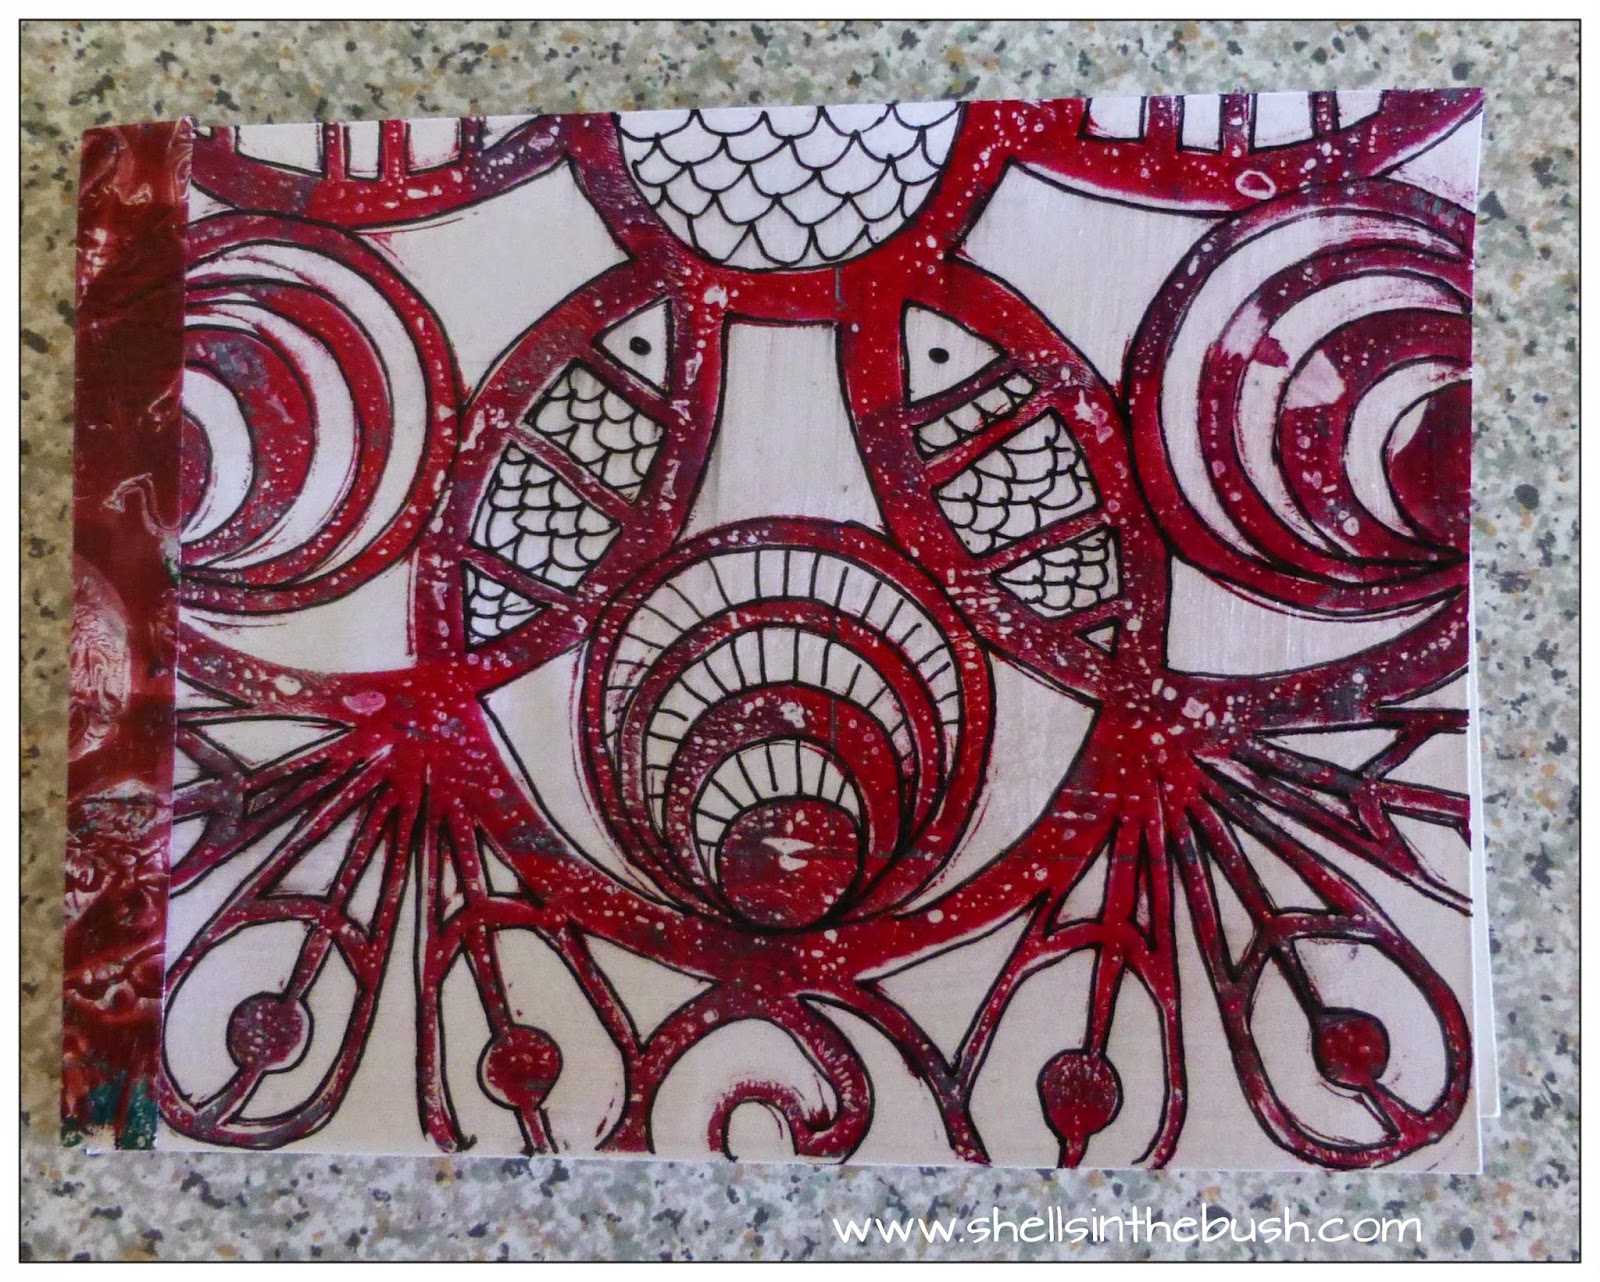
- I sold this painting after the local arts festival in the carpark for $50 and a couple of weeks later the lady sent me another $100.  She loved the painting and I was happy it went to a good home and wasn't sitting in my house.


- I threw myself into gelli plate printing and even started the Gelatin Printing Enthusiasts facebook group which has over 2100 members...


- I joined some art journaling groups and tried that...


- I joined another group where we created and swapped our art...

 - I spent hours browsing through Pinterest....

- I  joined 29 Faces in February and created 24.....

- I grabbed some old non-varnished canvases and altered them - chucked some paint on them
- I found a theme - gum leaves - and made several different paintings...

- I found I liked to doodle funky flowers - so I painted some of them on the old canvases...

- I'm taking an online class - Studying the Masters - Portraits and Self Portraits

 - I joined Cre8ive Klatch - where I have to provide a tutorial each month - this Mantra Mobile was my first tutorial.

 - I joined Klatchapalooza Market - where I had to create a minimum of 12 new artworks to sell online over the last weekend in November... and I sold this dragonfly gelli print collage.

- I hosted BlogtoberFest 2014...

- I joined in on blog hops and hosted one too...

- I got my Etsy store up and running....

Lowlights:

- Not really getting my mojo back  but I now know which direction I want to go in 2015.

- Being cyberbullied - I will blog about this in the third week of January after I have created a gelli print dedicated to this experience. But that experience helped me to create this:


Saturday, 27 December 2014

DIY Gelli Print Calendar and 1st Anniversary

The Gelatin Printing Enthusiasts Facebook Group is one year old today!!!  Many thanks to Cindy Jones Lantier who started it with me and a huge thank you to the 2123 members of the group.  You guys are awesome, thank you so much for sharing your prints, ideas, suggestions, for being so inspirational, for asking such great questions and for answering them. I'm so looking forward to seeing your prints next year!!


If you need a calendar for 2015 here's how I made mine!

1.  My friend Lin in Michigan sent me a blank calendar so I glued on some of my gelli print.  Easy squeasy!


2.  This is another type that I made.  I used this site to print out the months and I glued them onto A3 cardstock along with the gelli print and then created heaps of DIY washi tape and taped down the edges;


I used a hole punch to put a hole in the top and then added a hinged ring on this one and ribbon on the second one I made;

Thanks for a great year Gelli Addicts!

Friday, 19 December 2014

Frida Kahlo

I have worked some more on the Studying Under The Master's - Portraits and Self Portraits online class - the Master I am working on is Frida Kahlo.  She was a challenge, she's full of mistake but I'm very proud of her.

Evolution pics:


Wednesday, 17 December 2014

Gelli Print Self Portrait Picasso Style

I have worked some more on the Studying Under The Master's - Portraits and Self Portraits online class, learning about Picasso.  I created this self portrait with an acrylic paint background and using gelli prints instead of acrylic paints for the girl, dove and umbrella - just for something different and for fun.


I gotta say... I love her!  :D

Monday, 15 December 2014

Little Books Part 3

Today on the Cre8ive Klatch blog I show you how to bind the pages you've created with the washi tape you've made into Little Books.

 
 Part 1 showed you how to make different backgrounds and pages for your book.

Part 2 gave you some tips to make your own washi tape.

Part 3 binding the book together - no needles required!!!

Here's one of the books I made, the pages can be seen here and here.  This book is going to be used for my One Little Word 2015 project - so check back here on Jan 1st for more info and pics.


This Little Book 3 part tutorial started because I organised a postcard swap and one the ladies asked what I was going to do with them.  I was thinking I could include them in my art journal or create a book with them.  So here's the book I created.


Here are the postcards I made:

I hope you have fun creating your book.  Please join our Cre8ive Klatch FaceBook Group and share your creations - I would be thrilled to see them and I'm happy to answer any questions you may have.

Thank you.

Michelle.

PS If you would like to buy some gelli prints to decorate your pages or in your art journal, for collage and mixed media art then check out my Etsy store for some great Gelli Print Packages.


Friday, 12 December 2014

DIY Washi Tape - Little Book Pt 2

 Part 2 of the Little Books tutorial is on the Cre8ive Klatch blog today, where I will show you how to make your own washi tape.


My tutorial for making little books was on the Cre8ive Klatch blog last Monday - showing you how to make some great pages for your book.  Part 3 is on Monday 15th December, where we bind the book together without any needles or sewing.

Here are some of the pages I made this week printing on index cards with the gelli plate:

I used strips of paper and cut up index cards to mask out areas.  Then I glued those masks to the back of the cards.


Check it out and get inspired!  I look forward to seeing your pages, washi tape and books so join us in the Cre8ive Klatch Facebook group.

Wednesday, 10 December 2014

Learn to Fly Again

"Take these broken wings and learn to fly again..." by Mr. Mister.

Evolution pics:


I'm leaving it for now but feel the negative spaces need something in them but don't know what....

Monday, 8 December 2014

Little Books Pt 1

My tutorial for making little books will be on the Cre8ive Klatch blog today - showing you how to make some great pages for your book. 

Part 2, on Friday 12th December,  I will show you how to make your own washi tape.

In Part 3, on Monday 15th December, we bind the book together without any needles or sewing.


Check it out and get inspired!  I look forward to seeing your pages and books so join us in the Cre8ive Klatch Facebook group.

Saturday, 6 December 2014

3 in 1 Journal with Denim cover

I've made a 3 in 1 journal for next year - planner/diary/journal/art. It has weekly pages for using as a planner and writing in appointments.  It has some blank pages for writing down my thoughts or arting on and it has some gelli printed pages to use as starter backgrounds for arting on - painting, drawing, doodling, mixed media art journaling on.


If you would like to make one of your own here are some tips on how I made mine - when I made mine I never intended to create a tutorial for it so I do not have the best, detailed photos and there are many helpful videos out there so there was no point making a video either:

Watch these videos:

There was a very simple book stitching video but I can't find it now. Similiar to Rhomany's stitching in the video below but it involves 3 holes not 2....

Rhomany - Filofax Friday - DIY Filofax Inserts & Midori Refill Booklets Pt2

Make an easy art journal.

You will need 54 weeks on 27 pages (top left) - I had some days of the week stamps so I made a template and then photocopied it - leave enough room on the edge for trimming and washi taping. Pages in between - one side was gelli printed but blank on the other side (top right):

Each signature was made up of 15 pages (7 pages of weeks with alternate pages of gelli prints) and a cover made from a manilla folder - cut lengthwise and fold. My book is approximately 5 1/2 inches wide by 8 inches - paper sizes are different in Australia and the USA - so fold regular letter paper/A4 paper in half and go from there.

Here's the inside pages...I created holes in the signatures with a nail and a hammer two inches from the top and bottom leaving 4inches in between. I used embroidery thread to sew the signatures together as I had embroidery thread.


I trimmed my edges using a craft paper trimmer - a great tool I use all the time - keep the pages from moving with a clip.


 I made some home-made washi tape and sticked it to the sides of the pages because I love the colourful edge look (my tutorial coming up next week on the Cre8ive Klatch blog).
After I had made 6 signatures I used the tails of the embroidery thread to tie each signature to the next one.

Making the cover:

I used a denim skirt and cut it down to size and sewed the edges.

I gelli printed the cover just with normal acrylic paint - be generous with the paint as the material soaks it up.

I used a meat tenderiser/hammer and nail to make holes in the fabric - place it on a chopping board. I made 9 holes to stitch 3 signatures in not all 6 as it was going to be too hard.

I used embroidery thread to stitch the first, third and last signature to the material.  I started threading on the inside of the signature in the middle hole. You can start on the outside of the cover and some people add beads to the ends of their tails - I have heard that this makes writing in the journal difficult as the beads get in the way so I have left the spine nice and clean looking - see middle photo.

I found some wooden buttons in my old button box and sewed those on to tie the leather strap around to keep the journal together.

I made 3 journals and have sent two to my Besties. They are too much work to sell profitably but they are great fun to make for oneself or as a gift.


I love my new journal, made of items I already had (except the leather strap) and look forward to 2015 to start using it!


If you have questions then leave them in the comments and I will happily answer them.

Have fun!

PS I sell gelli print packages in my Etsy store if you need any and can make up a special batch just for you if you don't see what you like.  :D

Tuesday, 2 December 2014

Picasso's Sylvette

Today I worked some more on the Studying Under The Master's - Portraits and Self Portraits online class which started at the beginning of October and I'm now at week 2....been too busy...


Week 2 we are learning about Picasso and we painted his muse Sylvette - the Girl with the Ponytail. I looked at Picasso's layers and did it a little differently to the teacher, some I got right and some such as the cheek I got wrong. I had a little trouble with the sgraffito - which is scratching into the paint so I just used paint....

Here's some evolution shots:


I do wonder how she would look with gelli print clothes and hair....maybe tomorrow...

I put some small gelli print based canvases into my Etsy store today too...  :D