Showing posts with label tutorial. Show all posts

Sunday, 11 January 2015

Inspiration Hangers by Rachél Payne

Whilst waiting for glue to dry on my latest mixed media gelli print girl I decided to make one of these Cardboard Mixed Media Inspiration Hangers by Rachel Payne. Rachel is part of the Creativity Tribe and an instructor at Cre8ive Klatch.


This Inspiration Hanger project took me about 10-15 mins to complete and mine is different to Rachel's but that's the idea of the projects at Cre8ive Klatch - to inspire you to be creative and to teach you some new techniques and to use what you already have at home. So check out Rachel's video on the CK blog.

I brayered on my paint and glued on the gelli print house, stamp in top right corner and lace at the bottom and then used paint pens to highlight the house and words and a dragonfly stamp too.


It's now hanging on the door to my art room!!  Let me know if you make one and share it in the Cre8ive Klatch facebook group with me.  See you in there!


Thursday, 1 January 2015

Focus OLW 2015

I have chosen the word FOCUS to be my One Little Word/theme/mantra for 2015.

My word came to me when I was talking to someone new about my art and what I did this year and said that I really had to focus more on doing one thing instead of being a 'jack of all trades and master of none'.  I didn't really know where I was going in 2014 and tried to do too many things and know now that I have to concentrate on one thing and not spread myself so thin.

I am Artist of the Month for an art journaling group I'm in and have decided to guide the group through One Little Word 2015.

One Little Word started with Ali Edwards and here's a quote from her blog:

About One Little Word®

A single word can be a powerful thing. It can be the ripple in the pond that changes everything. It can be sharp and biting or rich and soft and slow.
In 2006 I began a tradition of choosing one word for myself each January – a word to focus on, mediate on, and reflect upon as I go about my daily life. My words have included play, peace, vitality, nurture, story, light, up, open and thrive. These words have each become a part of my life in one way or another. They've been imbedded into who I am and into who I'm becoming. They've been what I've needed most (and didn't know I needed). They've helped me to breathe deeper, to see clearer, to navigate challenges, and to grow.
I hope you'll consider joining me for the next One Little Word® workshop in January 2015 here at aliedwards.com.
Check out all my blog posts regarding One Little Word® here.
Click here to read a FAQ and more details about this project.
 1. Decide on your word.

You need to choose a word that resonates with you, instead of having a New Year's Resolution you choose a word for the year.  For a list of words check out Ali's blogpost here.

My word for 2014 was Grow.  My word for 2013 was Believe. My word for 2012 was Courage.

Activity 1 -  I used one of my little books for the activities but an art journal is ideal too. Write/doodle/decorate your word - see first photo.

2. Define your word.
Find a definition of your word that suits your purpose.

FOCUS:
1. The centre of interest or activity.
2. The state or quality of having or producing clear visual definition.
3. Pay particular attention to.

Activity 2 - write these words in your journal. 


3. How will you apply your word?

Activity 3 - write how you will apply your word over the year as this will help you to make it happen.

Focus:
1. Create one girl each week and put it in my Etsy shop or for sale in exhibitions.
2. Use gelli prints in my art - my girls and collages.
3. Create tutorials for Cre8ive Klatch.
4. Do less swaps and art journaling.


4. Create a bookmark.

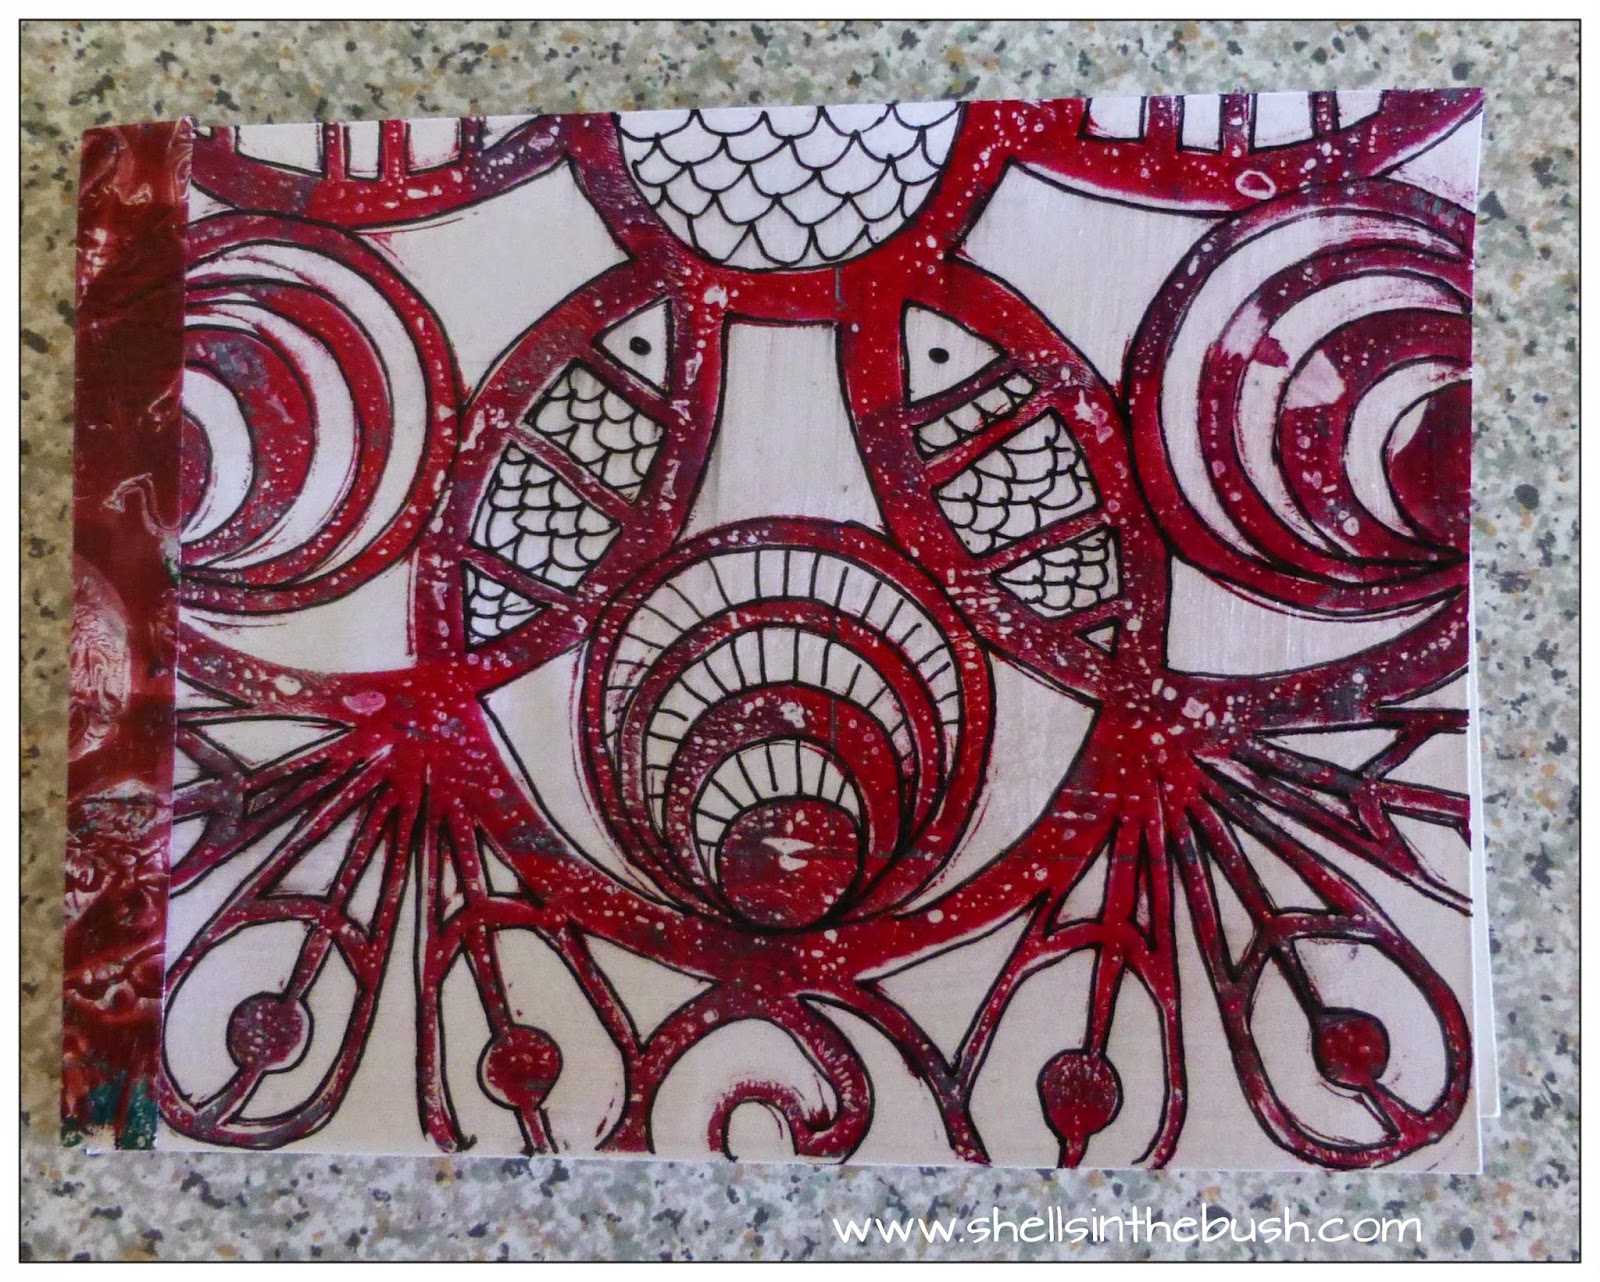
Activity 4 - create a bookmark with your word on it and keep it in your planner journal so you see it throughout the year. I started with a rectangle of manilla folder, you could use cardstock or an index card, then I covered it in a gelli print and collaged lace and a border and washi tape on it and then stamped on it and used my gel pen. I kept on going until I was happy.


Extra fun activities...

5. Pinterest Board.

Activity 5 - Each year I create a Pinterest board for my word and pin related pins.  It's fun and inspirational especially for the following activities.

Here are my boards:  Focus, Grow, Believe.

6. Create a reverse acronym for your word.

Activity 6 - Pinterest helped with this one.... Focus = Follow One Course Until Successful.


7. Quotes with your word in it.

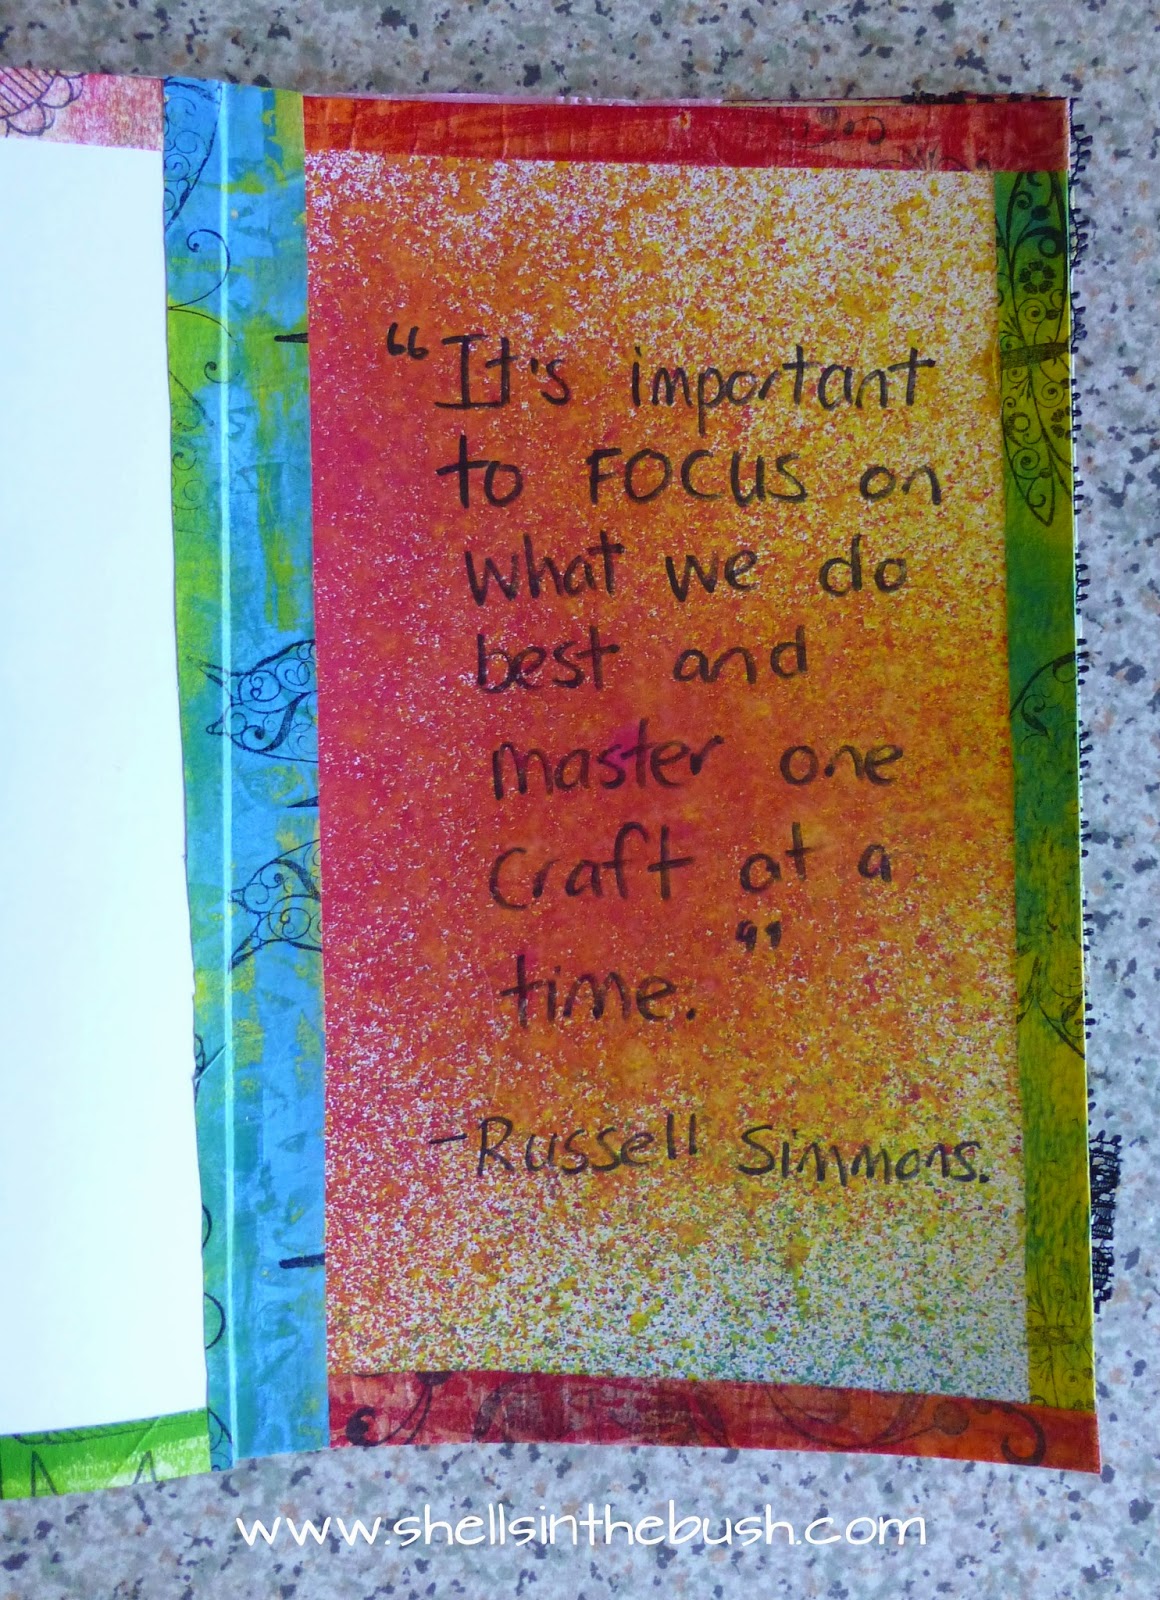
Activity 7 - this is where Pinterest is helpful and the google.  Find a quote with your word in it that speaks to you and write/doodle/decorate it in your journal.

"It's important to FOCUS on what we do best and master one craft at a time." - Russell Simmons


Ladies, I hope you have fun with these activities, I recommend the first four to get the most out of your OLW, but the more you do the fun it will be.

Please leave a comment with your chosen word below as I'd love to make a list of the words chosen.  Thank you!!! Or add your blog to the linky below!

Have  a great 2015!!!

Saturday, 27 December 2014

DIY Gelli Print Calendar and 1st Anniversary

The Gelatin Printing Enthusiasts Facebook Group is one year old today!!!  Many thanks to Cindy Jones Lantier who started it with me and a huge thank you to the 2123 members of the group.  You guys are awesome, thank you so much for sharing your prints, ideas, suggestions, for being so inspirational, for asking such great questions and for answering them. I'm so looking forward to seeing your prints next year!!


If you need a calendar for 2015 here's how I made mine!

1.  My friend Lin in Michigan sent me a blank calendar so I glued on some of my gelli print.  Easy squeasy!


2.  This is another type that I made.  I used this site to print out the months and I glued them onto A3 cardstock along with the gelli print and then created heaps of DIY washi tape and taped down the edges;


I used a hole punch to put a hole in the top and then added a hinged ring on this one and ribbon on the second one I made;

Thanks for a great year Gelli Addicts!

Monday, 15 December 2014

Little Books Part 3

Today on the Cre8ive Klatch blog I show you how to bind the pages you've created with the washi tape you've made into Little Books.

 
 Part 1 showed you how to make different backgrounds and pages for your book.

Part 2 gave you some tips to make your own washi tape.

Part 3 binding the book together - no needles required!!!

Here's one of the books I made, the pages can be seen here and here.  This book is going to be used for my One Little Word 2015 project - so check back here on Jan 1st for more info and pics.


This Little Book 3 part tutorial started because I organised a postcard swap and one the ladies asked what I was going to do with them.  I was thinking I could include them in my art journal or create a book with them.  So here's the book I created.


Here are the postcards I made:

I hope you have fun creating your book.  Please join our Cre8ive Klatch FaceBook Group and share your creations - I would be thrilled to see them and I'm happy to answer any questions you may have.

Thank you.

Michelle.

PS If you would like to buy some gelli prints to decorate your pages or in your art journal, for collage and mixed media art then check out my Etsy store for some great Gelli Print Packages.


Friday, 12 December 2014

DIY Washi Tape - Little Book Pt 2

 Part 2 of the Little Books tutorial is on the Cre8ive Klatch blog today, where I will show you how to make your own washi tape.


My tutorial for making little books was on the Cre8ive Klatch blog last Monday - showing you how to make some great pages for your book.  Part 3 is on Monday 15th December, where we bind the book together without any needles or sewing.

Here are some of the pages I made this week printing on index cards with the gelli plate:

I used strips of paper and cut up index cards to mask out areas.  Then I glued those masks to the back of the cards.


Check it out and get inspired!  I look forward to seeing your pages, washi tape and books so join us in the Cre8ive Klatch Facebook group.

Monday, 8 December 2014

Little Books Pt 1

My tutorial for making little books will be on the Cre8ive Klatch blog today - showing you how to make some great pages for your book. 

Part 2, on Friday 12th December,  I will show you how to make your own washi tape.

In Part 3, on Monday 15th December, we bind the book together without any needles or sewing.


Check it out and get inspired!  I look forward to seeing your pages and books so join us in the Cre8ive Klatch Facebook group.

Saturday, 6 December 2014

3 in 1 Journal with Denim cover

I've made a 3 in 1 journal for next year - planner/diary/journal/art. It has weekly pages for using as a planner and writing in appointments.  It has some blank pages for writing down my thoughts or arting on and it has some gelli printed pages to use as starter backgrounds for arting on - painting, drawing, doodling, mixed media art journaling on.


If you would like to make one of your own here are some tips on how I made mine - when I made mine I never intended to create a tutorial for it so I do not have the best, detailed photos and there are many helpful videos out there so there was no point making a video either:

Watch these videos:

There was a very simple book stitching video but I can't find it now. Similiar to Rhomany's stitching in the video below but it involves 3 holes not 2....

Rhomany - Filofax Friday - DIY Filofax Inserts & Midori Refill Booklets Pt2

Make an easy art journal.

You will need 54 weeks on 27 pages (top left) - I had some days of the week stamps so I made a template and then photocopied it - leave enough room on the edge for trimming and washi taping. Pages in between - one side was gelli printed but blank on the other side (top right):

Each signature was made up of 15 pages (7 pages of weeks with alternate pages of gelli prints) and a cover made from a manilla folder - cut lengthwise and fold. My book is approximately 5 1/2 inches wide by 8 inches - paper sizes are different in Australia and the USA - so fold regular letter paper/A4 paper in half and go from there.

Here's the inside pages...I created holes in the signatures with a nail and a hammer two inches from the top and bottom leaving 4inches in between. I used embroidery thread to sew the signatures together as I had embroidery thread.


I trimmed my edges using a craft paper trimmer - a great tool I use all the time - keep the pages from moving with a clip.


 I made some home-made washi tape and sticked it to the sides of the pages because I love the colourful edge look (my tutorial coming up next week on the Cre8ive Klatch blog).
After I had made 6 signatures I used the tails of the embroidery thread to tie each signature to the next one.

Making the cover:

I used a denim skirt and cut it down to size and sewed the edges.

I gelli printed the cover just with normal acrylic paint - be generous with the paint as the material soaks it up.

I used a meat tenderiser/hammer and nail to make holes in the fabric - place it on a chopping board. I made 9 holes to stitch 3 signatures in not all 6 as it was going to be too hard.

I used embroidery thread to stitch the first, third and last signature to the material.  I started threading on the inside of the signature in the middle hole. You can start on the outside of the cover and some people add beads to the ends of their tails - I have heard that this makes writing in the journal difficult as the beads get in the way so I have left the spine nice and clean looking - see middle photo.

I found some wooden buttons in my old button box and sewed those on to tie the leather strap around to keep the journal together.

I made 3 journals and have sent two to my Besties. They are too much work to sell profitably but they are great fun to make for oneself or as a gift.


I love my new journal, made of items I already had (except the leather strap) and look forward to 2015 to start using it!


If you have questions then leave them in the comments and I will happily answer them.

Have fun!

PS I sell gelli print packages in my Etsy store if you need any and can make up a special batch just for you if you don't see what you like.  :D

Friday, 7 November 2014

Mantra Mobile Tutorial

My first tutorial for Cre8ive Klatch is up on their blog. The aim is to present a project that can be created in 10 - 15 mins - something quick and 'easy' that will inspire you to keep on creating....


I first made the mantra mobile back in July and am very happy to be able to share it with you and inspire you to create your own. There are just so many ways you can vary this project to make it your own.  I would love to see yours when you make it so please join the Cre8ive Klatch FaceBook Group and share it there.  See you in the group!!


Thursday, 30 October 2014

Pink Accordion Gelli Print Book

BlogtoberFest 2014 - Day 30 - Creating something Pink

As part of a swap I had to create something pink with a pink ribbon for Breast Cancer Awareness month in October.  I created this pink accordion gelli print book and have decided to leave some blank space for the recipient to decorate or journal in....and I'm not sure what else to do with it, what words to stamp in it, etc....


Friday, 10 October 2014

Gelli Printed Denim Journal Cover

BlogtoberFest 2014 - Day 10 - gelli printing onto denim.


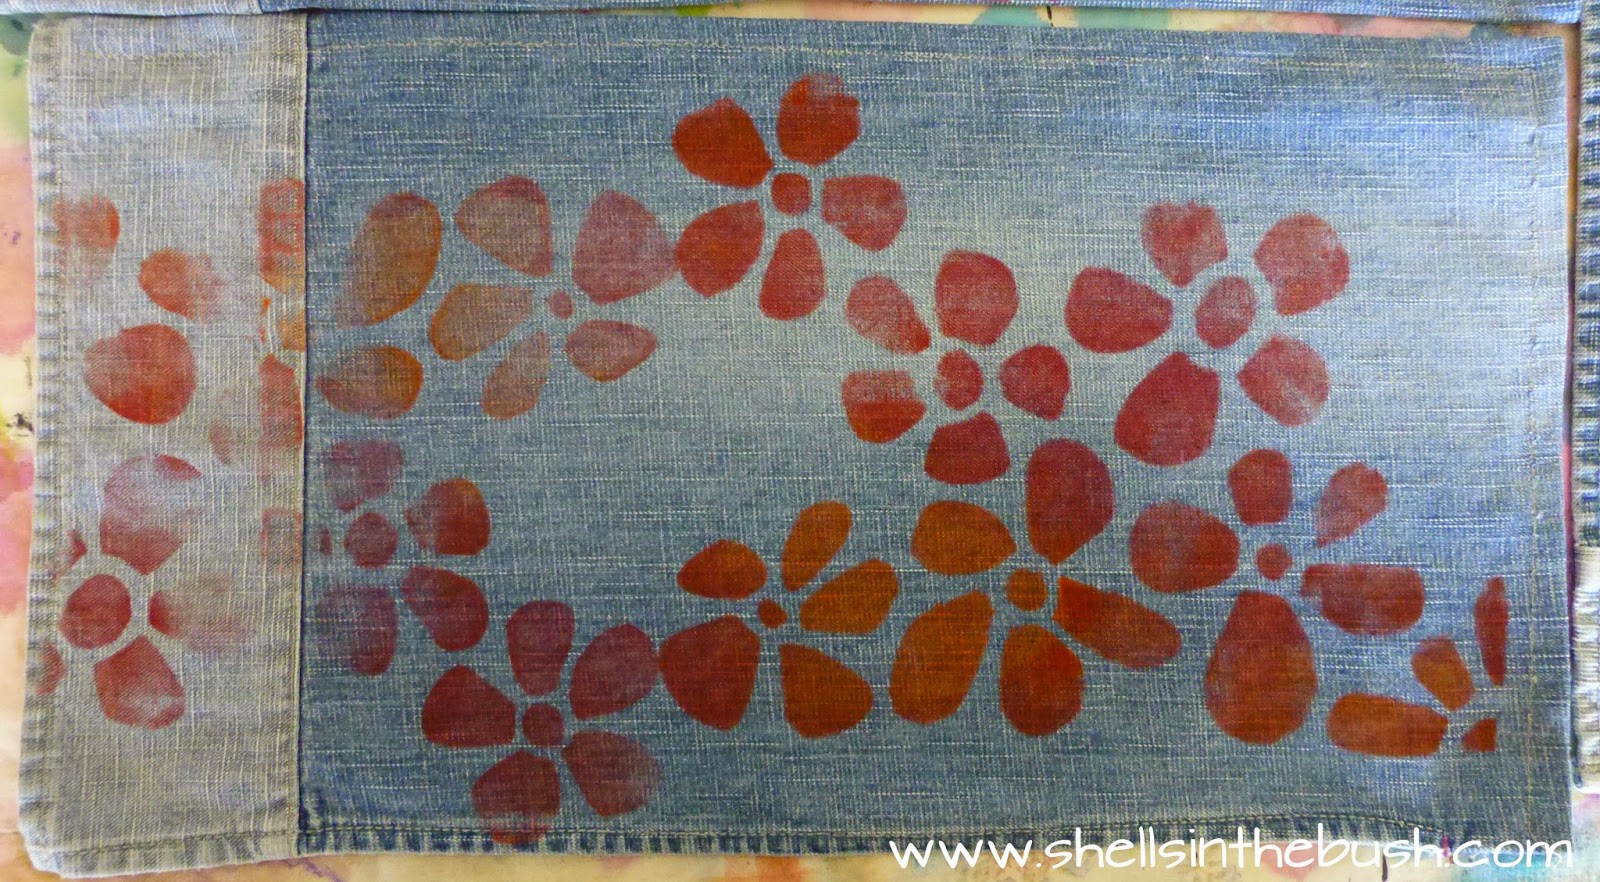
Today I gelli printed onto some journal covers I made from an old denim skirt. There was just so much yummy denim there I had to use it and not give it away. You could use an old pair of jeans legs.


I used normal acrylic paints as that is what I had and I didn't want to spend any more money on paint and I know that paint doesn't wash out of my clothes, not that I was planning on washing the journal covers.

You can see the results above and close ups below.  The denim soaks up the paint so I had to be more generous on the plate. I may have got a better result using fabric paint or a fabric medium in the paint but I can still decorate them further.

First try - I used a flower stencil I made recently.


Second journal cover:


Third journal cover - I used a darker red paint...


Here's my journal that I made - there are weekly pages, pages for writing on and pages for arting/doodling on. A 3 in 1 Diary/Journal/Planner


Would you like more details on how I made this journal?  Please leave a comment below, if I get enough interest then I will get onto it straight away so you can get it ready for next year.

Next week I'm looking forward to the Gelli Print Blog Hop and I'm having a giveaway - very excited to create for it this weekend.

PS Do you love creating gelli prints?  Want a place to discuss gelli printing?  To show off your work?  Share your ideas? Discuss the pros and cons of different paints/paper/plates/tools etc?  Get some great ideas on what to do with the thousands of prints you have created?

Then I would love you to join me at the Gelatin Printing Enthusiasts Facebook Group. This group is open to people who use a Gelli Arts Plate or who make their own gelatin plate.


Thursday, 10 July 2014

Alice - The Mad Hatter

For the Blog Hop Club our July theme is Faces.


  Guada describes it just how I feel too - "For me painting faces it´s just the perfect mix between paradise and challenge ♥ it took me some time to achieve portraits I like and I´m still far away from being where I want to be but I enjoy the process so so much!" 

I found a picture on Pinterest to inspire my hat for my girl - it's a Mad Hatter hat so that is why I've named her Alice - the Mad Hatter. 

Here is the link to my Steller eBook with evolution pics.

Materials I used:

Watercolour paper
Graphite Pencils
Tracing paper
Scissors
Caran D'Ache Neocolor II
Gelli prints - phalo blue, turquiose green, alizarin crimson, purple, white.
Gel medium
Acrylic paints - gold, burnt sienna, yellow ochre, white and black.

Here are my evolution and how to photos:

1. I drew my face with hat and clothes.
2. Traced around my face, hat and clothes.
3. Traced around my face.


4. Coloured in my face with the Caran D'Ache Neocolor II watercolour crayons.


5. I cut out the face and neck area from the tracing paper and covered the face with it using Blu-Tac to hold it down. Use the paper as a mask from the paint.
6. I applied paint to my gelli plate, phalo blue, and then put some scrunched up paper on for texture.
7. Then I placed my girl onto the gelli plate - scary moment.
8. Then I tore my paper taking it off the plate!!!  Aargh!!! So do this step carefully and straight away - no taking photos of a piece of paper on your gelli plate.


9/10. Our secondary theme for this month was the following colours - blue green and red violet - so I created some gelli prints using these colours for the hat and clothes.
11/12. Cut out the hat and clothes from the tracing paper to use as a template and place in the best postion on the print. Trace around with a pencil then cut them out.


13. Use the gel medium to glue the gelli prints onto the girl.
14. I used gold paint to outline the hat and give it a ribbon edge.  I also found the background colour too dark, especially on the left of the painting and this helped to differentiate between the background and the hat.  I should have used a light blue for the background to make the hat stand out.  I did add a wash of yellow to fill in the white and give the background a green tinge.
15. I painted in the hair - always a scary moment for me too.


There you go, that's how I do my girls....She is for sale along with 3 of my other girls as part of an Art Sale for Nicole's Cause - $50 will go to the cause and $10 will cover postage. Bargain!!

Now for the heart pendant giveaway - please leave a comment below and I will choose a winner next Thursday. 


There are more chances to win amazing prizes - to enter you need to visit and comment on the following artists' blogs on the scheduled days:
 I look forward to the Blog Hop Club next month - I wonder what the theme will be?


PS  Do you love creating gelli prints?  Want a place to discuss gelli printing?  To show off your work?  Share your ideas? Discuss the pros and cons of different paints/paper/plates/tools etc?  Get some great ideas on what to do with the thousands of prints you have created?
Inspire and be inspired as a part of the Gelatin Printing Enthusiasts Facebook Group. I would love for you to join me there.