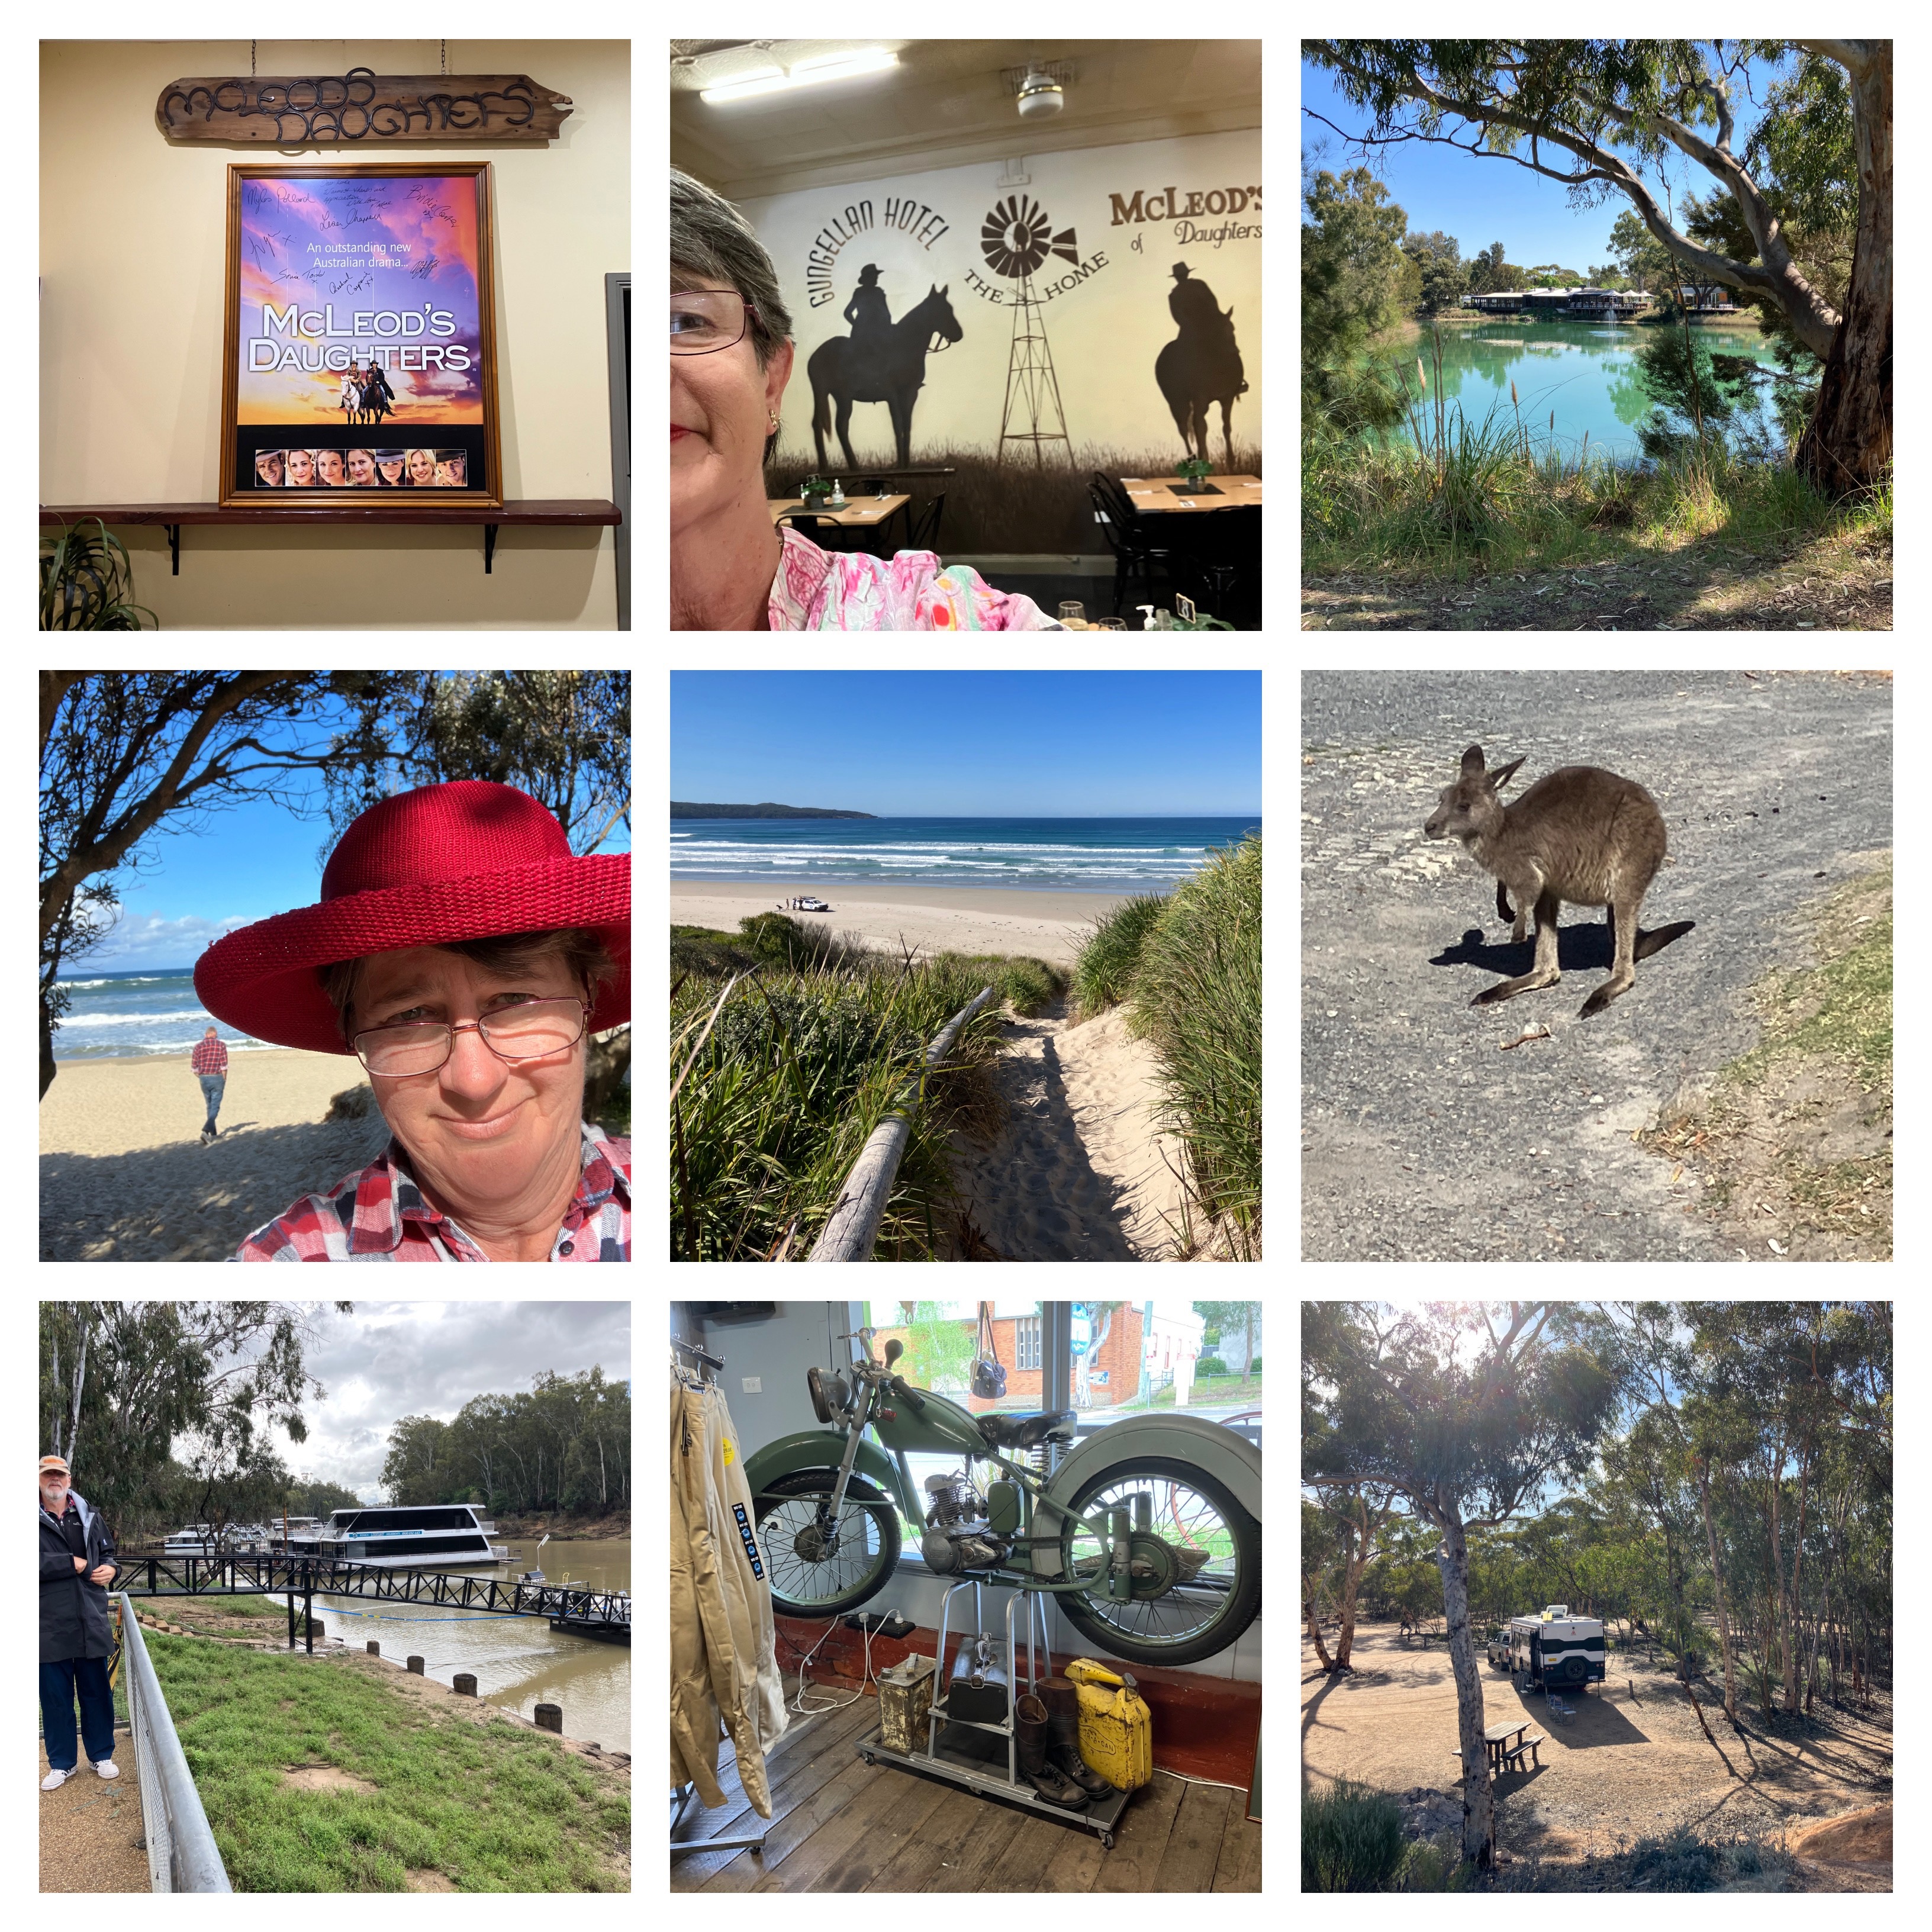
At the beginning of 2022 I decided to crochet a temperature blanket. I love it as I can look at this blanket and read the squares - this is the week it was hot or when we were interstate and the temperature was -3 celsius, and births and deaths too....
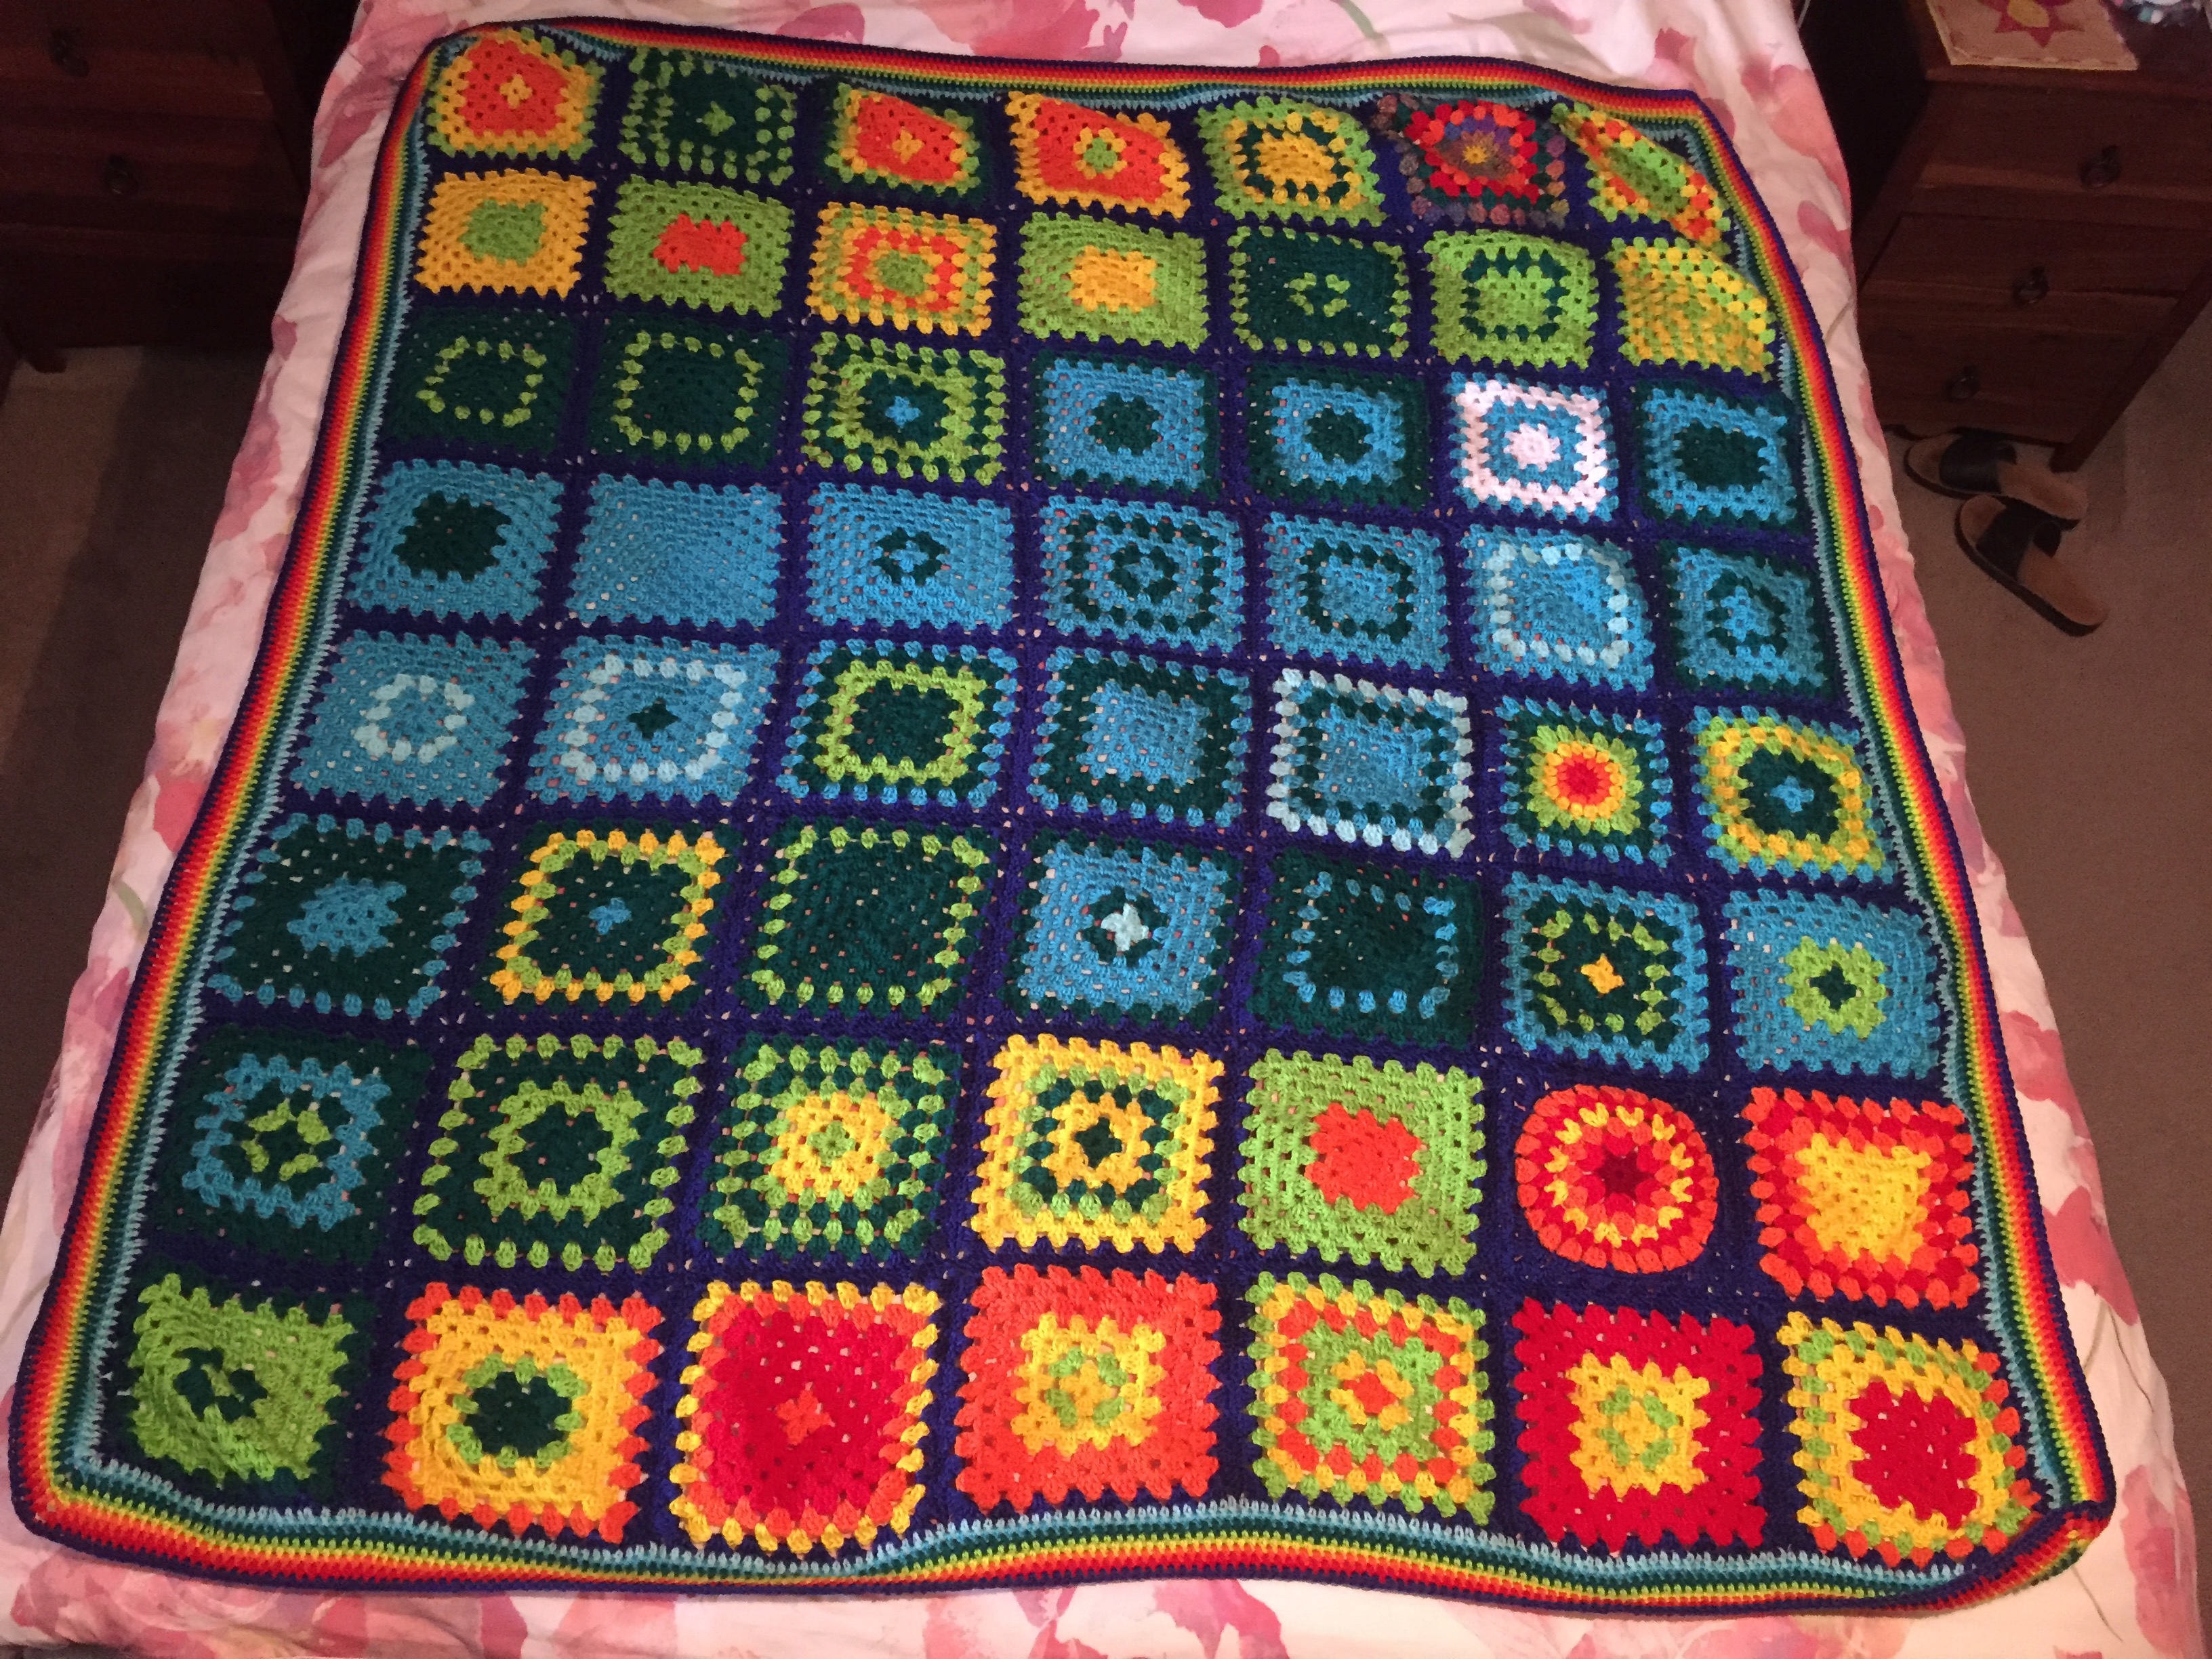
The temperature decides which colour yarn you use.
I chose granny squares - one row per day, one week in each square plus a border colour of cream or multi coloured for when we traveled. I used the daily maximum temperature for Perth, Western Australia and added 4 ply grey wool on days that it rained. I decided on 8 rows of 7 squares and had to include 4 extra squares - 8 x7 = 56, so the first square I started on 25th December, 2021 as we had 4 very hot days.... the other extra squares are those with circle centres. I used 4 Seasons Marvel 8 ply acrylic yarn from Spotlight stores as this had a wide range of colours to choose from. The blanket isn't too heavy and fits nicely on a queen size bed.
I also made one for my grandson based on his first year of life, basically 2021.
There are many different ways to crochet a temperature blanket, very individual with colour choices and many people add extra colours or rows for special events.
Tips if you are planning to make one:
- Do lots of research using google, Pinterest or Facebook groups
- use a yarn in a range with lots of colours and is readily available
- you may want to do a sample row or square to work out how large it is going to be.
I crocheted a border of half double/treble crochet using the colours in temperature order so it has an in-built colour gauge.
Well, I'm off to choose my colours for 2023 and have found a flower square which I may use as a weekly square or I may do a monthly square using linen stitch. I still haven't made a firm decision 11 days in to the year.....